Overview
Getting Started
This guide depends on the following requirements:
Configuration
Generate Device Identity
Export the environment variables PERIDIO_CERTIFICATE_FILE and PERIDIO_PRIVATE_KEY_FILE to the location of the PEM files generated when configuring your signing PKI. For more information about device signing PKI, see creating CA certificates.
export PERIDIO_CERTIFICATE_FILE=/path/to/end-entity-certificate.pem
export PERIDIO_PRIVATE_KEY_FILE=/path/to/end-entity-private-key.pem
Create working directory
Create a working directory for building the imx6ull14x14evk machine.
mkdir build-avocado-imx6ull14x14evk && cd build-avocado-imx6ull14x14evk
Checkout the meta-avocado project to your build directory
git clone git@github.com:peridio/meta-avocado
Build the System
You can build the project using kas. The product will have the device identity included as part of the runtime environment. Building this system may take a long time to complete depending on your build machine resources.
kas build --update meta-avocado/meta-avocado-example/conf/kas/machine/imx6ull14x14evk.yml
Testing
Insert a microSD card and execute the following command to write the image:
fwup build/tmp/deploy/images/imx6ull14x14evk/avocado-image-base-imx6ull14x14evk.fw
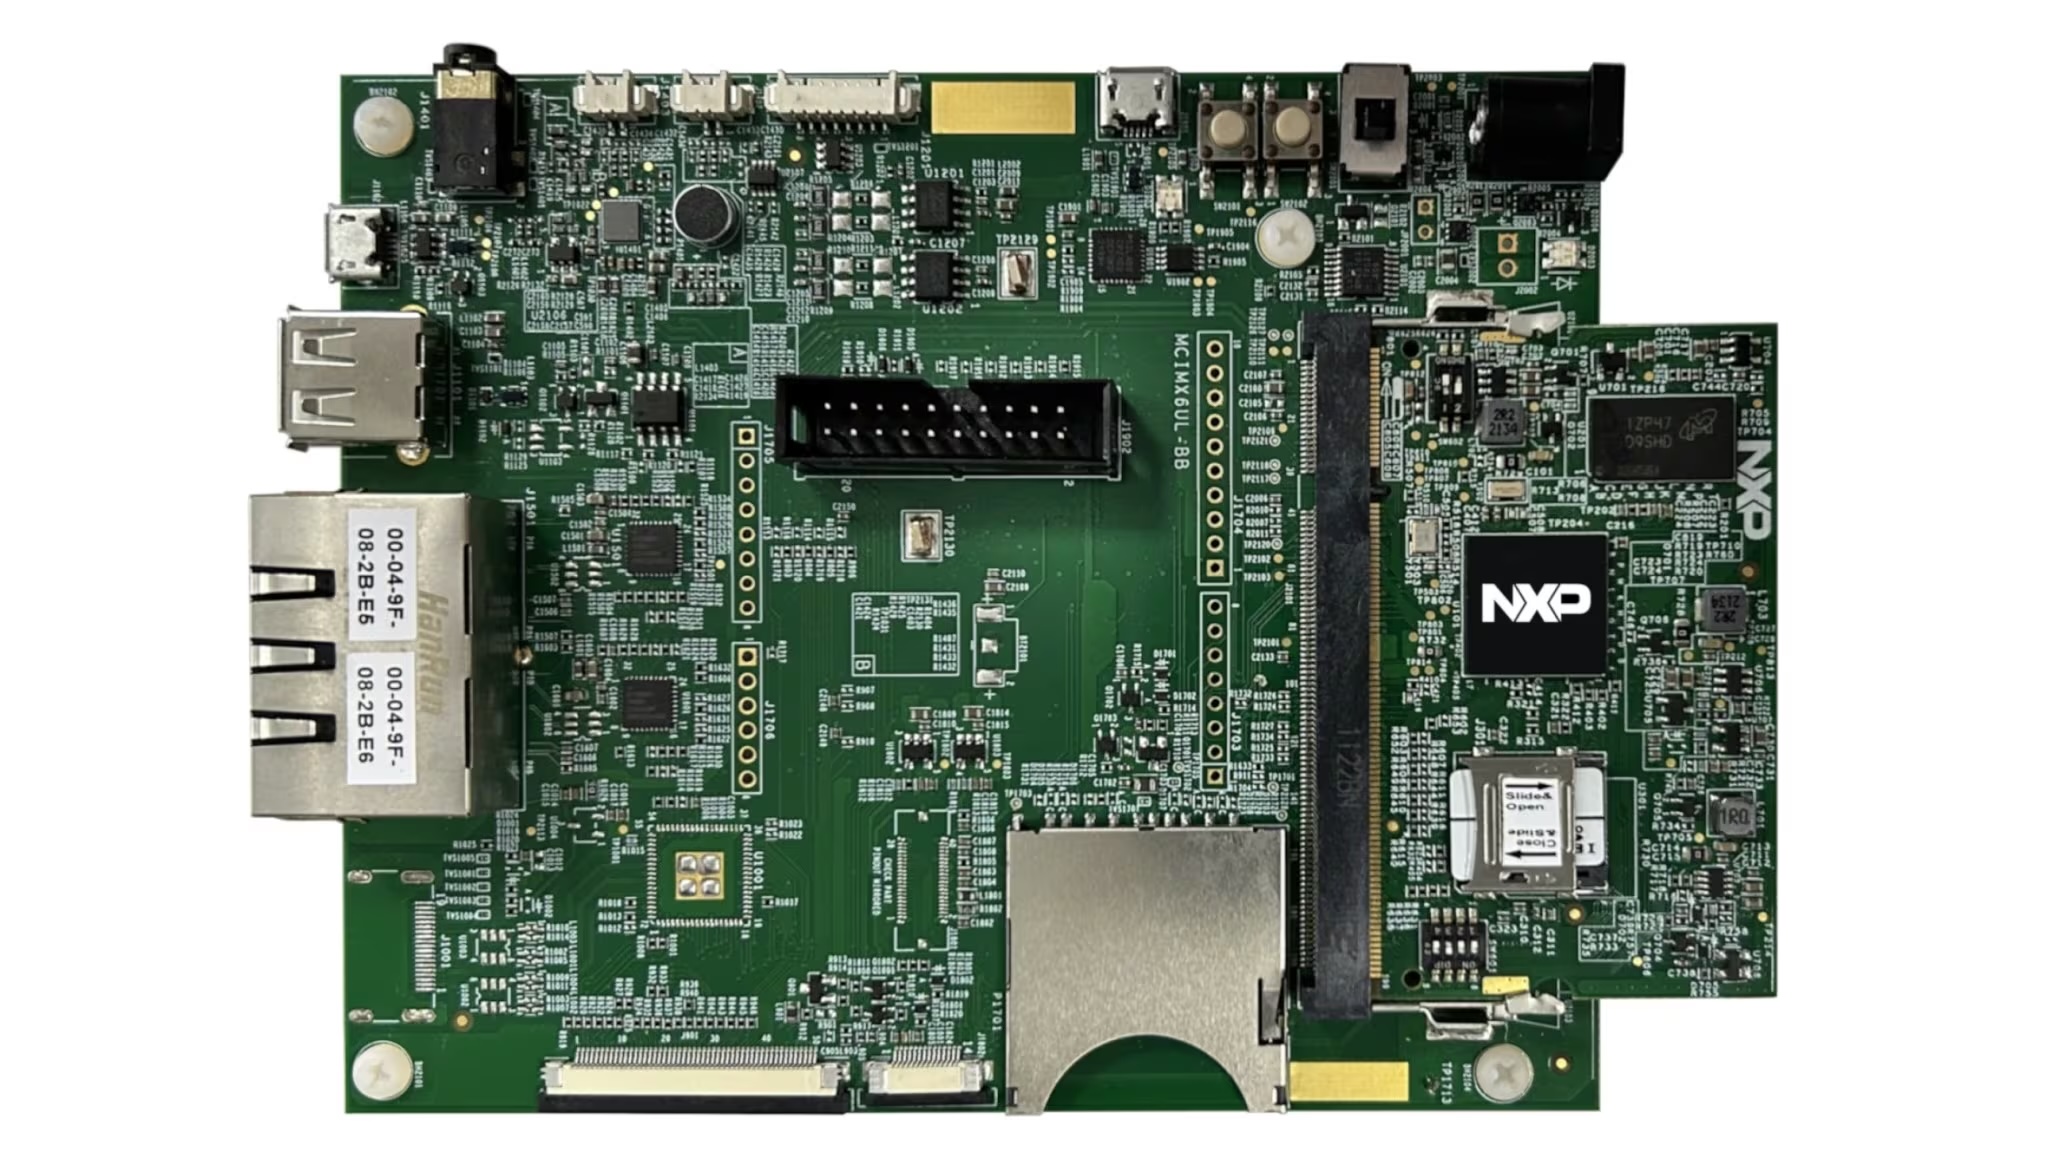
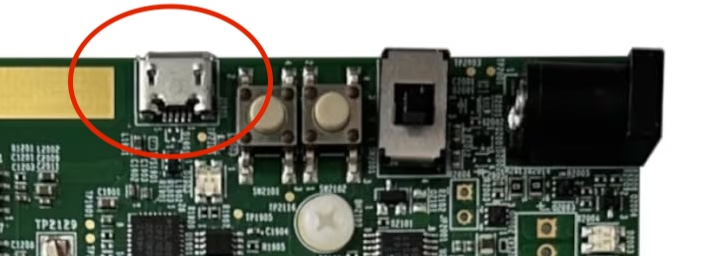
Connect a usb cable to the micro usb port on the top edge of the board
Insert the microSD card into the microsd card cage on the SOM and power on the board using the power switch.