One NPU today, a different NPU tomorrow: MoveNet pose detection on the i.MX 8M Plus, and the path across the i.MX line
imx8mp-evkimx8mp-frdmimx8mp-var-dartucm-imx8m-plus0.41.0TL;DR — Across the i.MX line, each part that carries an NPU carries a different one, and each one wants the model prepared its own way. This note runs MoveNet pose detection on the i.MX 8M Plus NPU, live off a USB camera, built in four commands — and then shows what moving the same app to a different i.MX NPU takes. Between 8M Plus boards it is a config change. The i.MX 93 also needs a Vela compile step and an Ethos-U runtime path that the reference does not have yet.
Start at the finish line
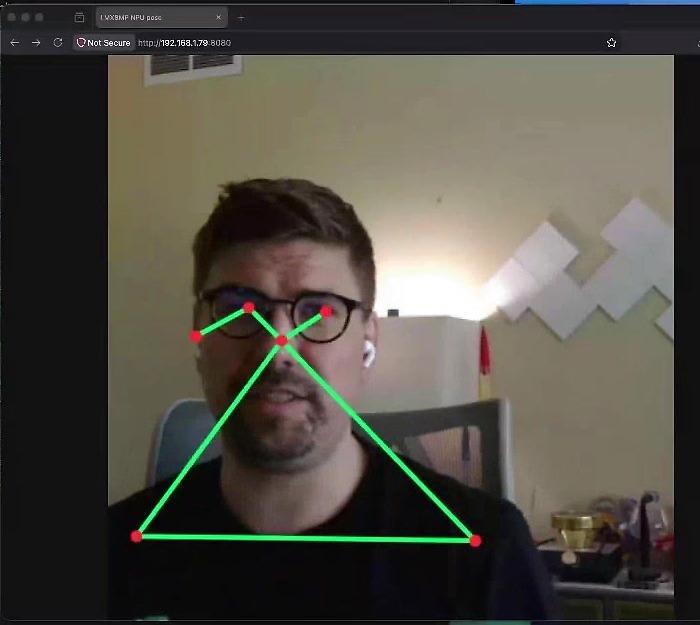
That's a skeleton drawn on a live camera feed — shoulders, elbows, wrists, tracked in real time. It's MoveNet doing pose estimation, and every frame of that inference is running on the NPU baked into the i.MX 8M Plus, not the CPU. The camera is a plain USB webcam I plugged straight into the dev kit; the board serves the annotated feed back over HTTP, which is why I'm watching it in a browser pointed at the device.
Here's the thing, though. "AI runs on the 8MP" was never the interesting claim — the 8MP is one of the modern classics, of course it runs. The claim worth writing down is that this exact project — same application, same config file — should move to the other NPUs across the i.MX line without a rewrite. That portability is one of the big value drivers we care about, and it's the whole reason this note exists. Today the reference is wired for the 8M Plus only, and the app still loads the 8M Plus delegate directly; the sections below say what the other parts still need.
This Field Note is the deep dive demo we did during NXP's "Engineer's Guide to Simplifying Embedded Linux Development" webinar, and it's one of our reference projects — imx8mp-npu-pose — so you can pull it apart and run it yourself.
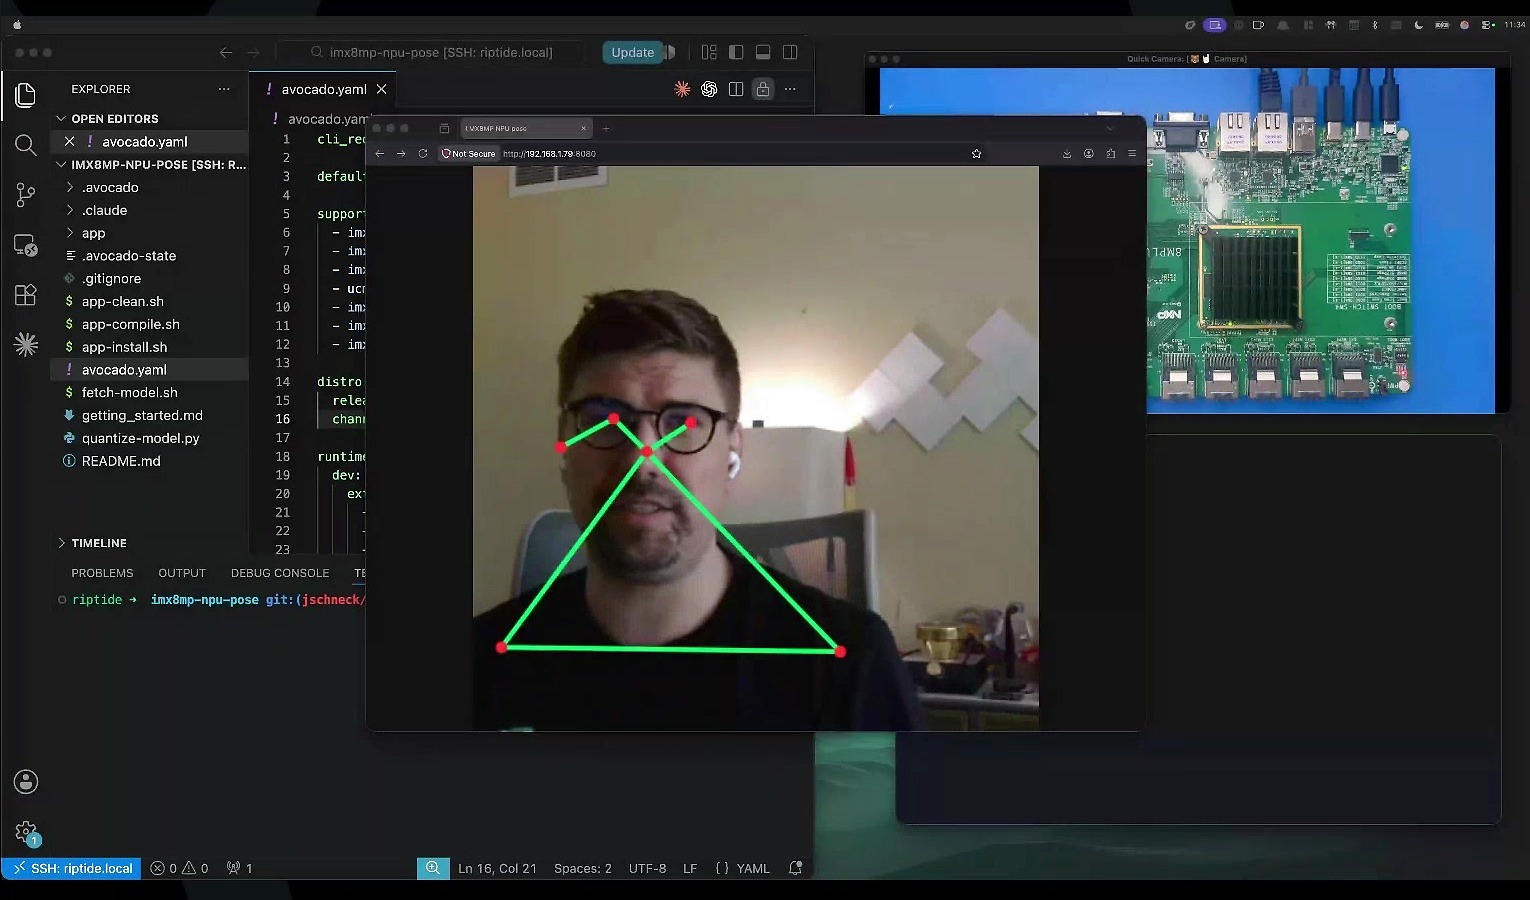
None of the pipeline is exotic, and that's the point. GStreamer pulls frames off the UVC camera, hands them to a small Python app that runs the quantized model on the NPU and draws the keypoints, and Weston puts it on screen. All of it is declared in the config — nothing hand-installed on the device after the fact.
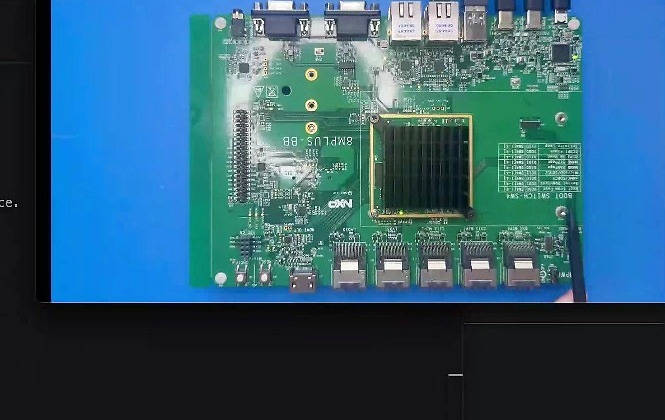
The part nobody demos
If you've shipped a model to an edge NPU, you already know where the time actually goes. Your training team hands you something in floating point, and it is not ready to just lay down onto an i.MX NPU — it has to go through a quantization step first. And here's the catch: that step is different for every part. NXP alone ships the 8M Plus with one NPU, the i.MX 93 with another, the 95 with another again, and each one wants the model prepared its own way.
| Part | NPU | Peak throughput (INT8) | How a model gets loaded |
|---|---|---|---|
| i.MX 8M Plus | VeriSilicon Vivante VIP8000 | ~2.3 TOPS | per-tensor INT8 .tflite, run through the TFLite VX delegate |
| i.MX 93 | Arm Ethos-U65 microNPU | ~0.5 TOPS | INT8 .tflite recompiled with Arm's Vela into an Ethos-U command stream |
| i.MX 95 | NXP eIQ Neutron (N3) | ~2.0 TOPS | INT8 .tflite converted with NXP's eIQ Neutron tooling, run via the Neutron delegate |
These don't sit on a single performance ladder. The i.MX 93 is a lower-power part than the 8M Plus, not a bigger one; and the i.MX 95's NPU lands near the 8M Plus on paper TOPS but runs inference several times faster in practice — TOPS alone won't rank them for you. What shifts per part isn't just speed. It's the quantization, the operator coverage, and the exact output format the accelerator will actually load.
A quick primer if NPUs are new to you: a trained model comes out in 32-bit floating point, but an NPU wants small integers. Quantization converts the model's weights and activations down to 8-bit integers (INT8) so the accelerator can run them — you trade a little accuracy for a big win in speed and power. Every NPU wants that done its own way. The 8M Plus loads a per-tensor INT8 .tflite directly; the i.MX 93's Ethos-U65 needs that same INT8 model compiled a second time, through Arm's Vela, into a command stream it can execute. Same idea, different output — and it doesn't always go clean. There are two ways it bites you: some models just lose too much fidelity when you drop them to INT8, and some lean on activation functions or ops the NPU won't accelerate at all. The build catches a degenerate quantization, but not which ops stay on the CPU, so you validate per part.
What that does to a team is the familiar mess. You end up with a loose bag of scripts that drags a model from your training output into something one specific NPU will accept — and that bag is different for every board. The day you want to evaluate a cheaper part, or scale up because the model got heavier, or move because a part went short in the supply chain, you're re-deriving that pipeline by hand. Swapping the hardware is the easy part. It's the software underneath that quietly turns a part change into a project.
That's the friction this demo is built to remove.
It's all one file, and the target line is the hinge
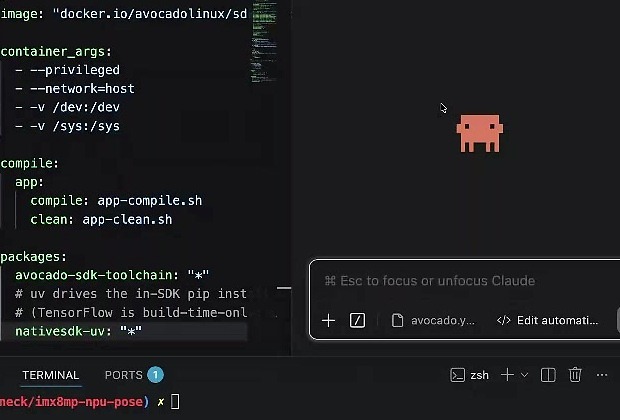
The whole project is a single avocado.yaml. Up top it names the targets it supports and which one to build by default, then it composes a runtime out of extensions. An extension is just a reusable fragment of an image — you build it once and share it across projects. Some are inline (your app, your config); some are shared, pulled from Avocado, from Peridio, or from your own team.
The one line that carries the whole portability story is the board support package, templated on the active target:
cli_requirement: '>=0.41.0'

default_target: 'imx8mp-evk'

supported_targets:
  - imx8mp-evk
  - imx8mp-frdm
  - imx8mp-var-dart
  - ucm-imx8m-plus

distro:
  release: 2024
  channel: edge-next

runtimes:
  dev:
    extensions:
      - avocado-ext-dev
      - avocado-ext-sshd-dev
      - avocado-bsp-{{ avocado.target.board }} # resolves per target
      - config
      - app
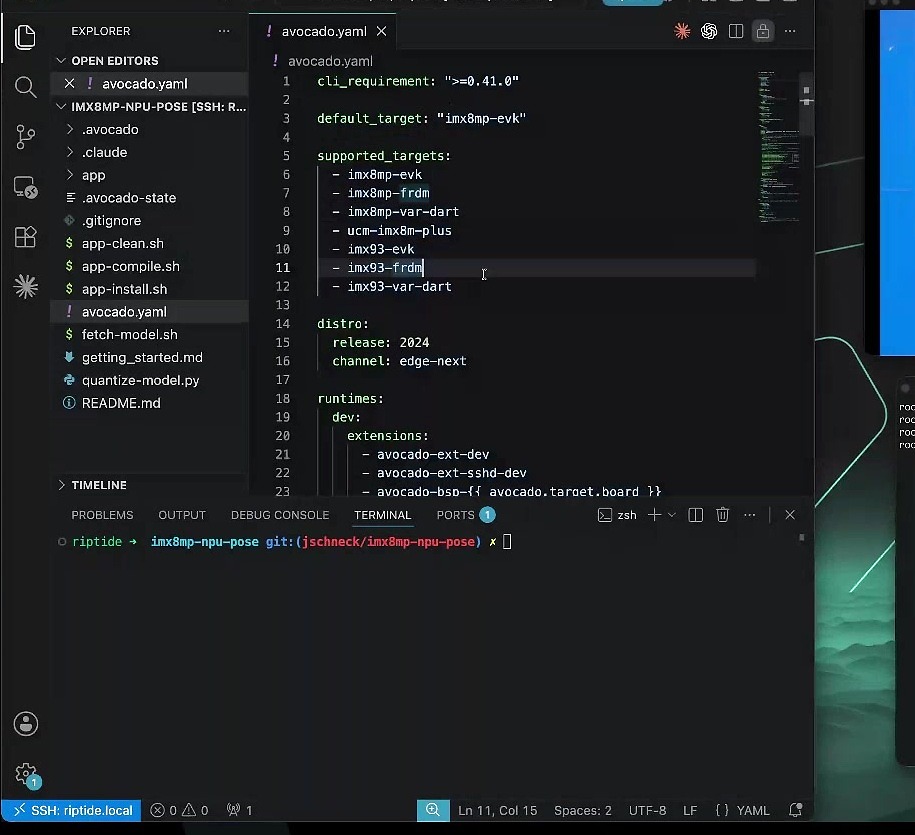
The application extension pulls in exactly what this demo needs and nothing more — which is the entire security-footprint argument for an immutable OS in one sentence. You're adding lines, not baking images:
extensions:
  app:
    packages:
      # --- GStreamer: the capture + inference + render pipeline ---
      gstreamer1.0: '*'
      gstreamer1.0-plugins-base-videoconvert: '*'
      gstreamer1.0-plugins-base-app: '*'
      gstreamer1.0-plugins-good-video4linux2: '*'
      gstreamer1.0-plugins-good-videocrop: '*'
      gstreamer1.0-plugins-good-cairo: '*'
      gstreamer1.0-plugins-good-jpeg: '*'
      gstreamer1.0-plugins-bad-waylandsink: '*'

      # --- Python: drive the pipeline + draw the skeleton ---
      python3: '*'
      python3-pygobject: '*'
      python3-pycairo: '*'
      python3-numpy: '*'

      # --- Camera + display ---
      kernel-module-uvcvideo: '*' # my USB webcam Just Works
      v4l-utils: '*'
      weston: '*'
      weston-init: '*'
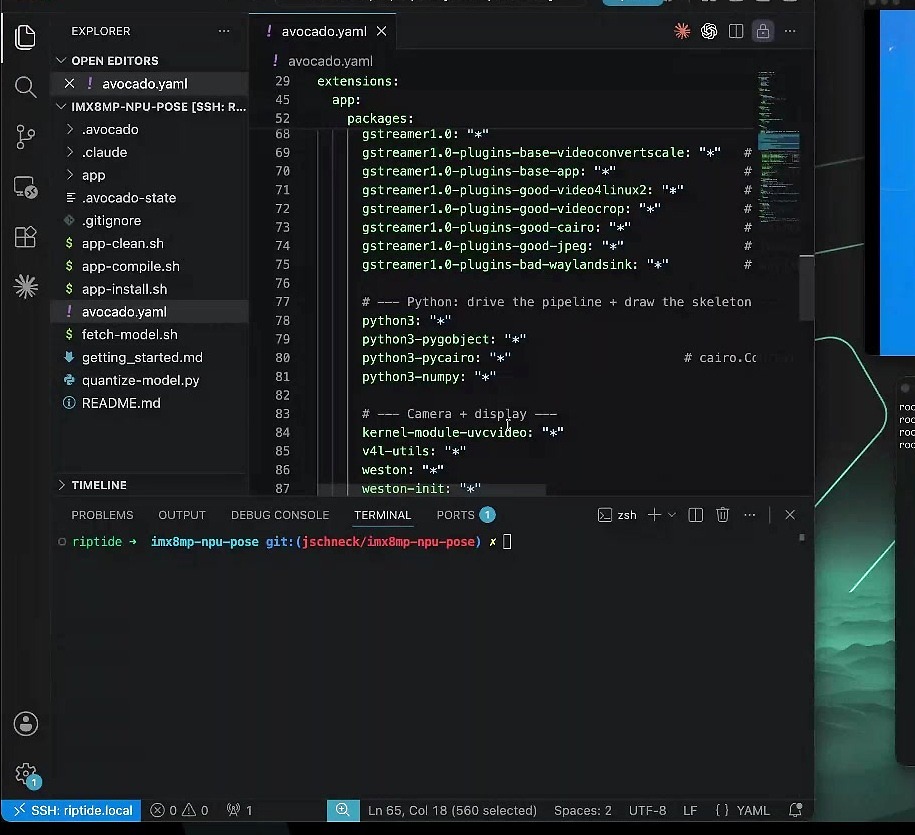
Two things worth stopping on. Kernel support like UVC video is a package line, not a kernel rebuild — Avocado builds only what's needed to boot into the kernel itself and ships the rest as modules you pull in when you want them. And the SDK is opt-in per language. This reference pulls in nativesdk-uv so uv can drive an in-SDK pip install of TensorFlow for the INT8 quantization step — and to be clear, that TensorFlow is build-time only; it never lands on the target. The same toolchain cross-compiles C, C++, Rust, Elixir, Java. (If you've ever fought Python's story for cross-compilation, you know it's abysmal — uv being written in Rust is a good chunk of why this works at all.) You're not pulling down hundreds of gigabytes of toolchain to build one app; you take exactly what you need.
Enabling the NPU should be a shared extension, not a bag of scripts
Here's the part that matters. In this reference the app extension carries the MoveNet model already quantized for the target NPU:
app:
  types:
    - sysext
    - confext
  version: '0.1.0'
  summary: 'MoveNet INT8 single-person pose'
  overlay: app/overlay
  packages:
    # MoveNet is quantized to per-tensor INT8 for the NPU
    # the .tflite is copied into the extension overlay
We do that step in the open so you can see exactly what happens: fetch-model.sh pulls the model down, and quantize-model.py runs it through app-compile.sh to produce the per-tensor INT8 .tflite the 8MP's NPU will load. It's a small script, and you can drop your own model into that same slot and send it through the same pipeline.
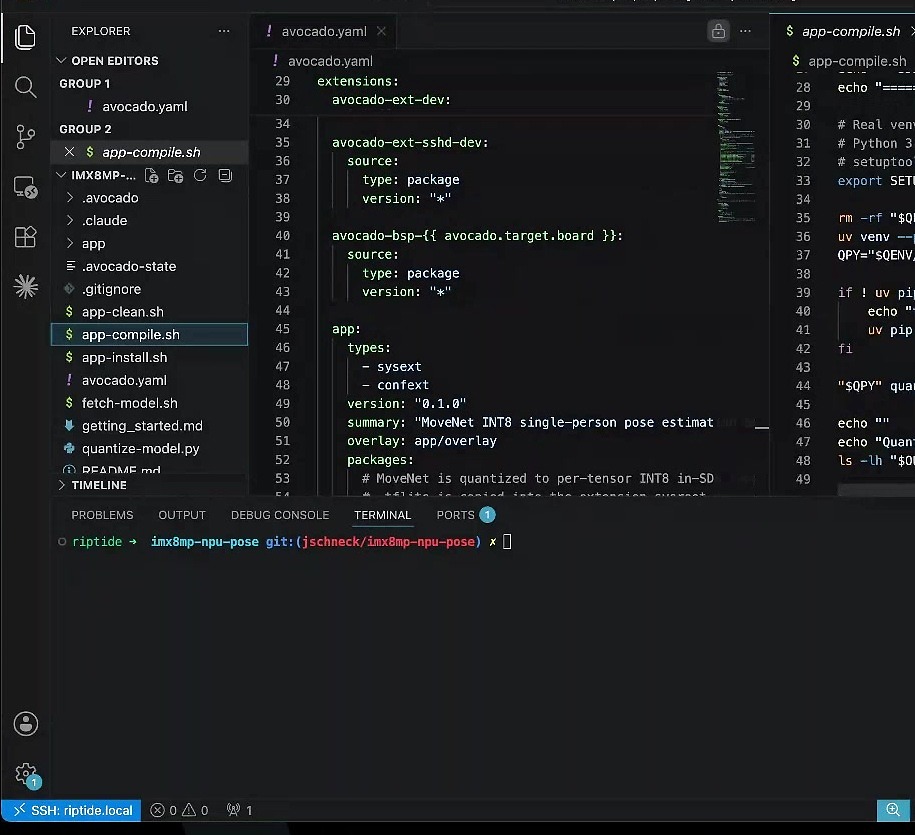
But in practice, that per-NPU step isn't something you should have to own. The direction is a shared Avocado extension whose whole job is to know how to quantize a model for a given i.MX NPU: point it at the 8MP and it emits an 8MP-shaped model, point it at the 93 — different NPU, different rules — and it emits what that accelerator expects instead. That extension is not published yet. Today the 8MP step is the quantize-model.py script in the reference, and the i.MX 93 has no equivalent.
And that's the whole trick, once it exists: enabling the NPU and staying portable across NPUs are meant to be the same feature. The mechanism that gets your model onto the 8MP is the one that should retarget it to the 93 — or, as we bring them on, a 95, or a part from another vendor entirely.
The target swap
To move this application to another 8M Plus board, you change the target. The BSP template resolves to the new board's support package, the feed serves that architecture's pre-built binaries, and your application source doesn't move:
default_target: 'imx8mp-frdm'
or, without touching the file, pass it on the command line:
avocado install --target imx8mp-frdm
avocado build --target imx8mp-frdm
avocado provision -r dev --target imx8mp-frdm
Moving to the i.MX 93 takes more than the target line. The INT8 model has to be compiled with Vela for the Ethos-U65, and the app has to load it through the Ethos-U delegate, where the reference loads libvx_delegate.so today. Vela is in the i.MX 93 SDK, but the reference does not call it yet, and its avocado.yaml lists ucm-imx8m-plus only. The same goes for the i.MX 95's Neutron tooling. The i.MX 93 targets in the demo project's config are configured, not built end to end.
The mechanism extends up the line as we add targets, and it's not a rebuild-the-world event, either. We build the whole world of packages ahead of time, per architecture — tens of thousands of them — so a target change just pulls the right pre-built packages at install time, and avocado build cross-compiles your pieces into the image. The heavy lifting is already done on the other side of the swap.
Four commands, then it's on the board
From an empty directory to a running device is four commands on the 8M Plus (ucm-imx8m-plus in the published reference):
avocado init --reference imx8mp-npu-pose imx8mp-npu-pose  # scaffold the project
avocado install    # pull the pre-built packages for this target
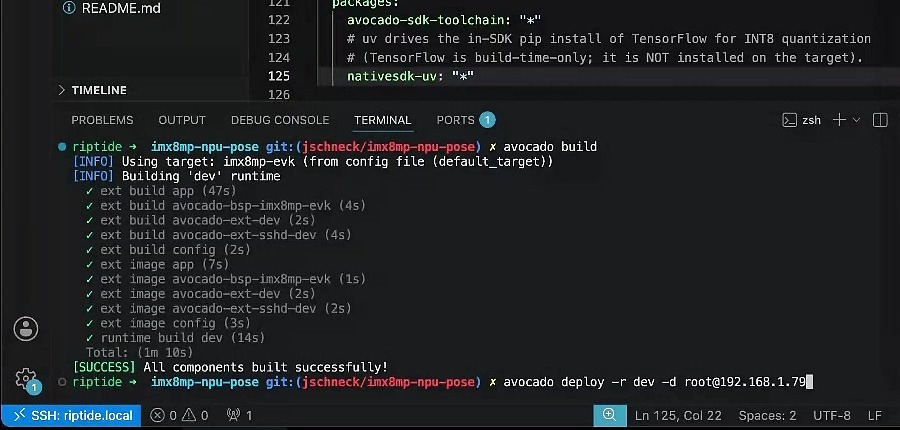
avocado build      # compose the runtime, cross-compile the app + model
avocado provision  # stream it onto the board
avocado buildcomposed the fulldevruntime — app, BSP, dev and sshd extensions, config, images, and the runtime — in 1 minute 10 seconds.
Provisioning runs off profiles that already know each board's flash path. The 8MP has on-board eMMC (what I used) and an SD cage, and there's a sneaky little detail worth knowing: those boards have a boot dip switch, so you flip it, boot without a card inserted, and the part comes up in serial-programming mode. The uuu-emmc profile then streams the image straight to eMMC over the USB-C cable; the sd profile burns a card instead. You can blend profiles or write your own.
Iterating without a re-flash
Once the device is up, you don't re-burn it every time you change something. avocadoctl on the device shows status and which extensions are loaded — here the BSP, config, and app extensions are all merged and active:
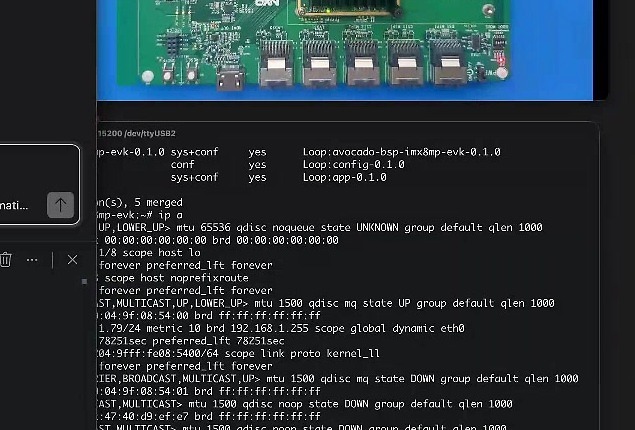
Tweak the app or swap the model, and avocado deploy streams just the delta down and merges it in place — no re-flash, no full reboot. You watch it happen: it brings the service down, unloads the NPU, lays in the new model (plus any modules that came with it), and the service comes right back up running the change. If you'd actually changed the OS it'd ship the whole thing, but when it's just the model riding in an extension, that's all that moves. Under the hood the boot chain is A/B and deliberately minimal — Avocado only builds what's needed to boot the root filesystem, initramfs, and kernel, so the A/B partitions stay small and rarely change size, while the rest of the disk is a Btrfs /var holding the extensions. That's what makes an in-place update cheap instead of a full re-image — the always-reproducible, always-read-only, always-deterministic model earning its keep.
A note on the agentic path
One of the honest pains of this work is simply not knowing which package you need for a given peripheral. Our tooling ships an MCP server that can query the package feeds, make the call, and edit your avocado.yaml in line — from Claude Code or Codex, or our own integrated tooling. It's a convenience layer over the same config, not a separate magic system: the file it writes is the same file we've been reading this whole time.
And then it ships
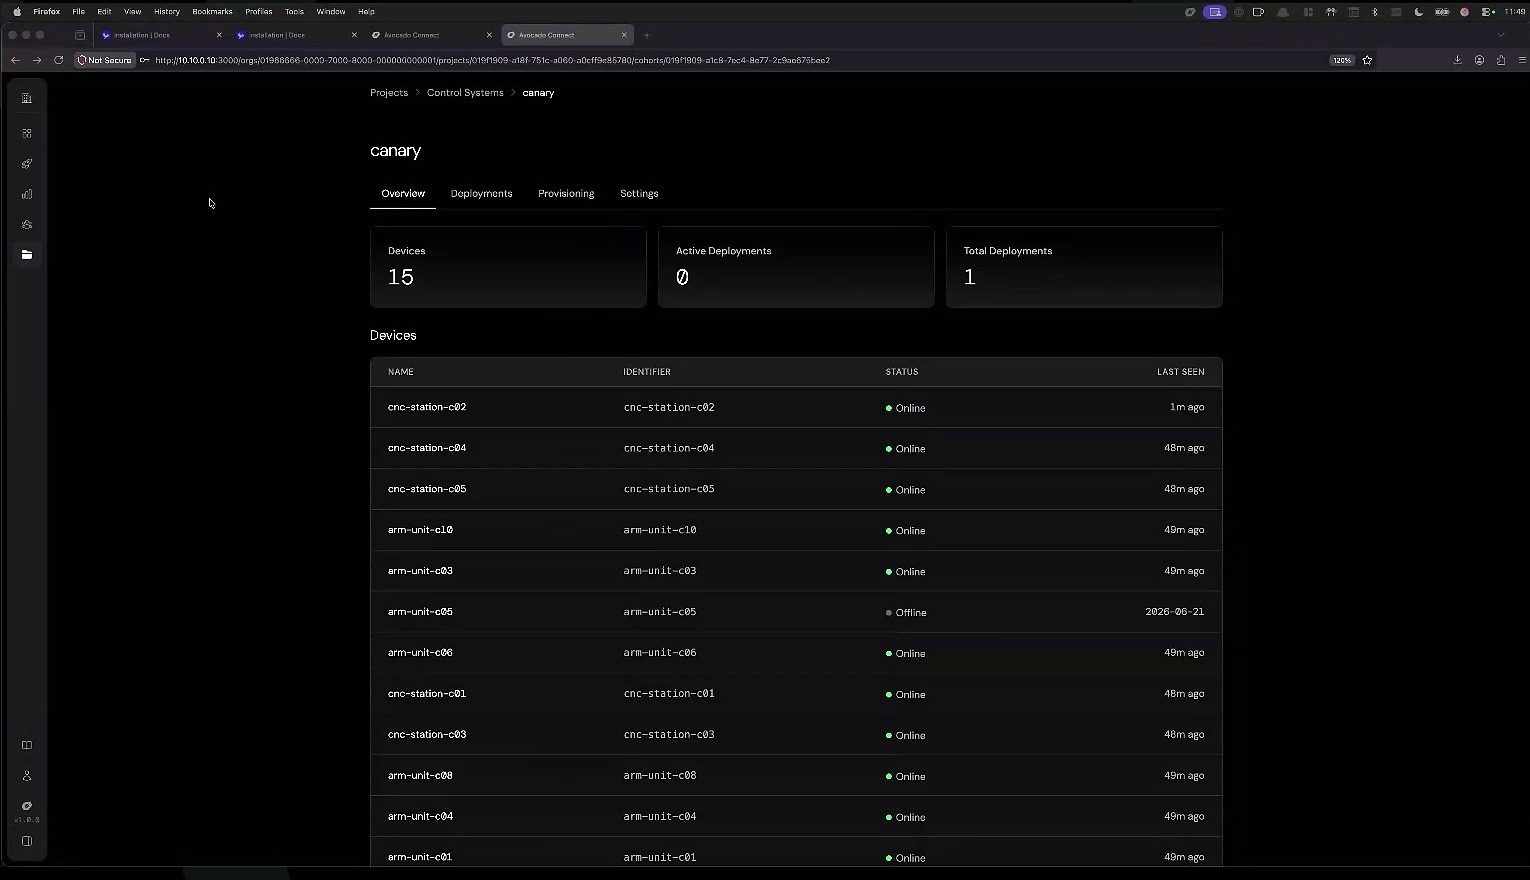
When the project's done, the same runtime goes to the field through Peridio Connect: observability, remote-access tunnels, and OTA updates across the fleet. The minimal image pays off here too — a lean OS is a smaller attack surface and a smaller, faster OTA every time you push.
Issues Encountered
- Different NPUs, different results — validate per part. Retargeting the config is not the same as validating the new NPU, and a different NPU isn't just "the same thing, faster." Operator coverage and quantization behavior vary, so re-measure accuracy and frame rate on each target instead of assuming they carry over. Even once a new NPU runs the model, that doesn't get you out of validating it.
- Quantization has two ways to bite. Some models lose too much fidelity when you drop them to INT8. Others lean on activation functions or ops the NPU won't accelerate, so they convert fine and then do nothing useful on the device. The build only flags a degenerate quantization, and which ops stay on the CPU is a manual check on the device today, so plan for a round of training-and-preparing for the target, not a one-shot export.
- Model in, model out is still your loop. The NPU-specific quantization lives in the reference's script today and is meant to move into a shared extension; either way, picking the source model and confirming keypoint quality is still on you. The win is that the per-board plumbing stops being your problem — not that model selection does.
Reproduce it
The full reference lives at avocado-linux/references/imx8mp-npu-pose. Initialize the project, build the 8MP pass end to end, and watch pose detection come up off a USB camera:
avocado init --reference imx8mp-npu-pose imx8mp-npu-pose
cd imx8mp-npu-pose
avocado install -f
avocado build
avocado provision -r dev # uuu-emmc on the 8MP
Then add another 8MP board to supported_targets and change default_target to it (or pass --target imx8mp-frdm to install, build and provision), rerun install / build / provision, and diff avocado.yaml to confirm the target line moved. The application source is untouched. The i.MX 93 needs the Vela and Ethos-U work described above before the same swap runs.
Read more at docs.peridio.com, and see the full source for this reference at avocado-linux/references/imx8mp-npu-pose.