Buildroot
You can integrate the Peridio Agent into buildroot by leveraging the buildroot external tree.
Checkout the Peridio external tree from GitHub.
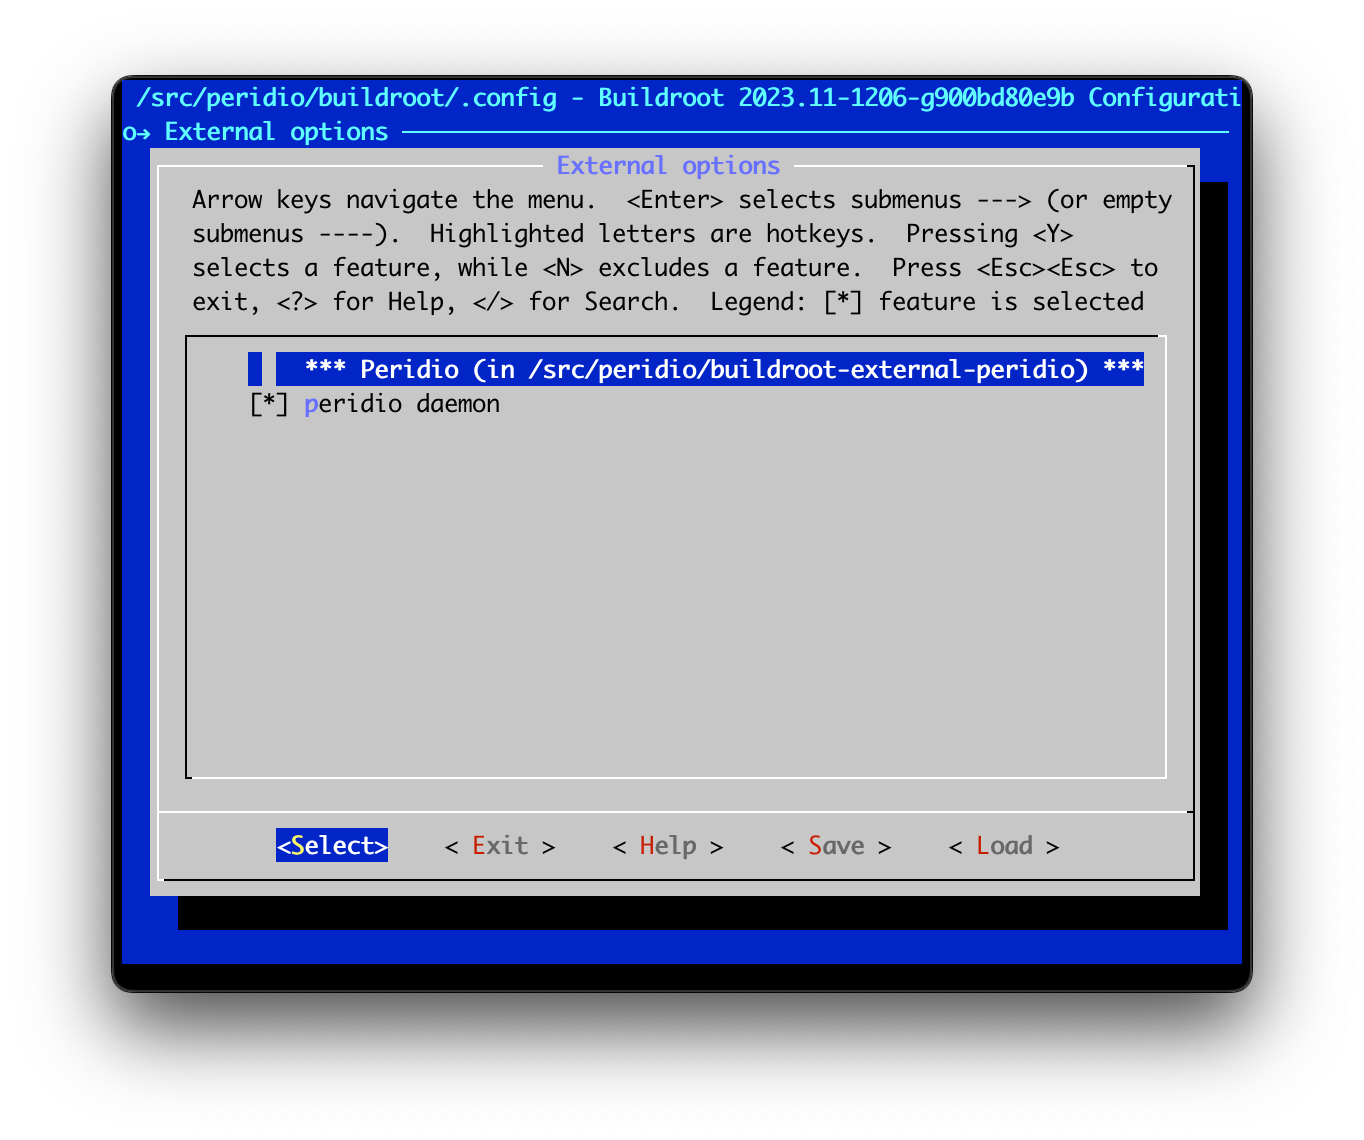
Pass the location to the Peridio external tree when configuring the build directory from within the Buildroot tree, you can validate the external Peridio Agent build options are present through menuconfig or xconfig.
make BR2_EXTERNAL=/path/to/buildroot-external-peridio menuconfig

Configuring peridiod
The peridiod package in buildroot-external-peridio will install a systemd service and configure the location of the peridiod configuration file to the path /etc/peridiod/peridio.json. This file can be included as part of the including a overlay directory path to BR2_ROOTFS_OVERLAY. An example of this implementation can be found in the buildroot-external-peridio repo with the included QEmu target.
Building FWUP archives
A fwup configuration file can be included in your buildroot tree and configured to produce a fwup archive as part of the build process. This fwup archive can then be signed and uploaded to peridio for further distribution.
Create a fwup.conf file that describes your target system and include it as part of your buildroot tree board files. More information about how to construct this config file can be found in the fwup readme.
Create a post-image script and configure BR2_ROOTFS_POST_IMAGE_SCRIPT in your defconfig. The following example demonstrates building the firmware for the product my-app on a qemu board. The path to the fwup.conf file should be updated to point to your board config files location.
fw_filename="my-app.fw"

# make .fw file
ROOTFS="$BINARIES_DIR/rootfs.squashfs" fwup \
  -c \
  -f $BR2_EXTERNAL_PERIDIO_PATH/board/qemu/aarch64-virt/fwup.conf \
  -o "$BINARIES_DIR/$fw_filename"
Testing with QEMU
The buildroot integration can be tested using the included build configuration for qemu aarch64. Check out the latest buildroot tag and include the peridio external tree using BR2_EXTERNAL.
make BR2_EXTERNAL=/path/to/buildroot-external-peridio peridio_qemu_aarch64_virt_defconfig
You will need to generate device certificates and configure Peridio to either trust the device by creating the device and providing its certificate or by using JITP. You can pass the pem private key and certificate to the build to include it as part of the QEmu system image output.
make PERIDIO_PRIVATE_KEY="$(cat /path/to/end-entity-private-key.pem)" PERIDIO_CERTIFICATE="$(cat /path/to/end-entity-certificate.pem)"
Once the system is built, you can launch QEmu with the following command:
output/host/bin/qemu-system-aarch64 \
  -M virt \
  -cpu cortex-a53 \
  -bios output/images/u-boot.bin \
  -device sdhci-pci \
  -device sd-card,drive=mmc \
  -device virtio-net-device,netdev=eth0 \
  -device virtio-rng-device,rng=rng0 \
  -drive file=output/images/peridio-qemu-aarch64-virt.image,if=none,format=raw,id=mmc \
  -m 1024 \
  -netdev user,id=eth0,hostfwd=tcp::10022-:22 \
  -no-acpi \
  -nographic \
  -object rng-random,filename=/dev/urandom,id=rng0 \
  -rtc base=utc,clock=host \
  -smp 2
Signing FWUP archives
fwup --sign \
  -i output/images/peridio-qemu-aarch64-virt.fw \
  -o output/images/peridio-qemu-aarch64-virt-signed.fw \
  --private-key $(cat /path/to/fwup-key.priv) \
  --public-key $(cat /path/to/fwup-key.pub)