Overview
Getting started
This guide depends on the following requirements:
Configuration
Generate device identity
Export the environment variables PERIDIO_CERTIFICATE_FILE and PERIDIO_PRIVATE_KEY_FILE to the location of the PEM files generated when configuring your signing PKI. For more information about device signing PKI, see creating CA certificates.
export PERIDIO_CERTIFICATE_FILE=/path/to/end-entity-certificate.pem
export PERIDIO_PRIVATE_KEY_FILE=/path/to/end-entity-private-key.pem
Create working directory
Create a working directory for building the raspberrypi0-2w-64 machine.
mkdir build-avocado-raspberrypi0-2w-64 && cd build-avocado-raspberrypi0-2w-64
Checkout the meta-avocado project to your build directory
git clone git@github.com:peridio/meta-avocado
Build the system
You can build the project using kas. The product will have the device identity included as part of the runtime environment. Building this system may take a long time to complete depending on your build machine resources.
kas build --update meta-avocado/meta-avocado-example/conf/kas/machine/raspberrypi0-2w-64.yml
Testing
Insert a microSD card and execute the following command to write the image:
fwup build/tmp/deploy/images/raspberrypi0-2w-64/avocado-image-base-raspberrypi0-2w-64.fw
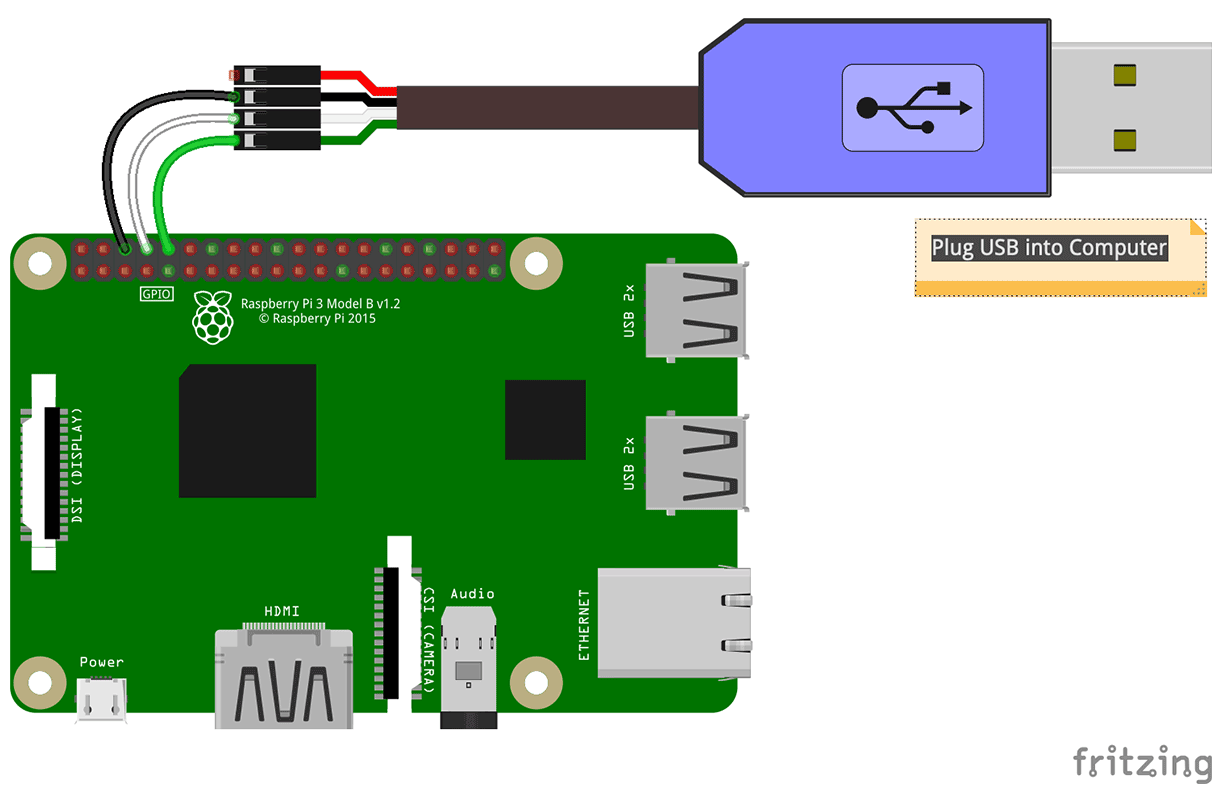
Connect a serial console cable to the UART pins on the Raspberry Pi header
Insert the microSD card and power on the board.