OTA Updates
This guide walks through a complete over-the-air (OTA) update with Avocado OS: from creating an Avocado Connect account, to publishing a runtime, to creating a deployment and watching your device pick it up. By the end you will have shipped a real update to a running device through the same pipeline you would use for a production fleet.
Along the way you'll see each step done multiple ways where multiple tools support it: uploading a runtime from the Avocado CLI or Avocado Desktop, and creating a deployment from the CLI, Desktop, or the Avocado Connect console.
How an OTA works in Avocado
- A runtime is the versioned artifact you deploy. You build it locally, then upload and publish it to your Connect project.
- A deployment targets a published runtime at a cohort of devices (optionally filtered to specific devices or tags).
- Devices verify every update against TUF signatures before installing. How the update applies depends on what changed: extension-level changes (like the package additions in this guide) merge live with no reboot, while updates that carry a new OS image apply to A/B partitions and reboot into the new slot, with automatic rollback on boot failure. See the update architecture overview and the activation process for the exact rules.
Prerequisites
- An Avocado project that builds successfully (
avocado install,avocado build) — see Getting Started - The Avocado CLI installed, and optionally Avocado Desktop if you prefer a GUI for upload and deployment
Step 1: Create an Avocado Connect account
Sign up for a free developer account at connect.peridio.com/login. For more on what Avocado Connect provides, see the Connect overview.
Step 2: Link your project to Connect
- Authenticate the CLI:
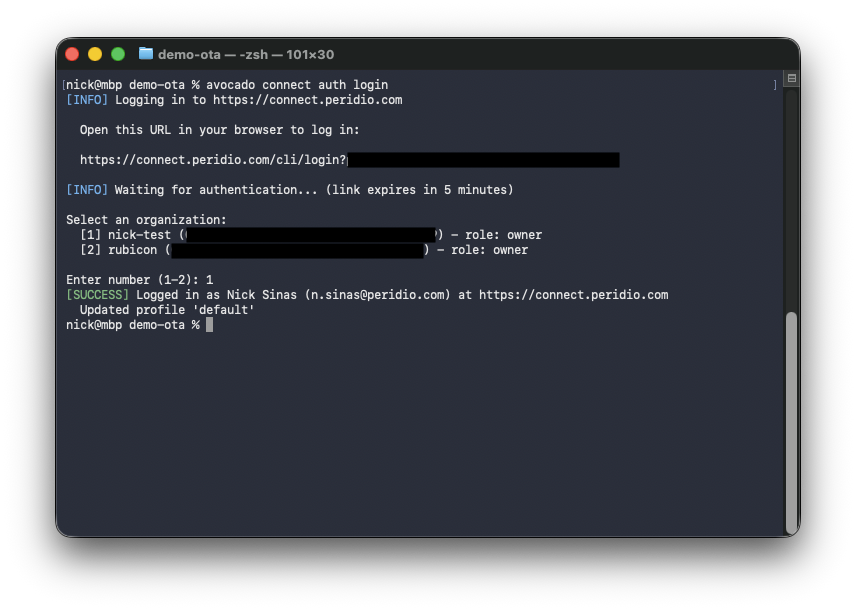
avocado connect auth login— opens a browser link, then select your organization.
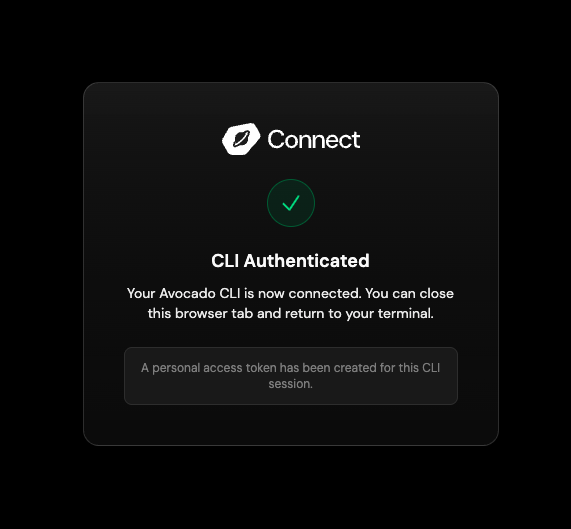
- The browser confirms the CLI session and issues an API token scoped to your organization; return to your terminal.
- Initialize Connect in the project:
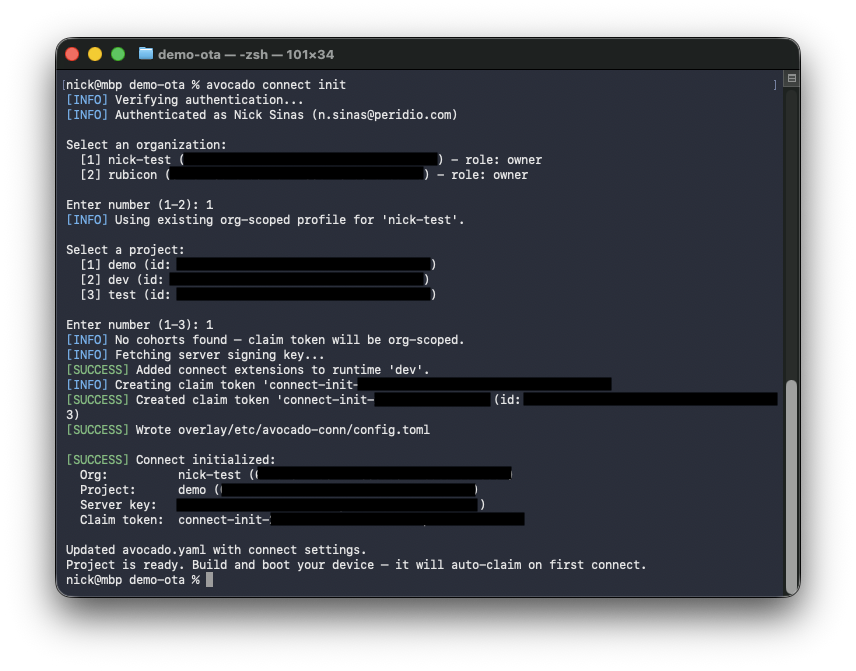
avocado connect init— select the organization and project; this writes theconnect:section toavocado.yaml, adds the connect extensions to the runtime, creates a claim token, and writes the device config overlay.
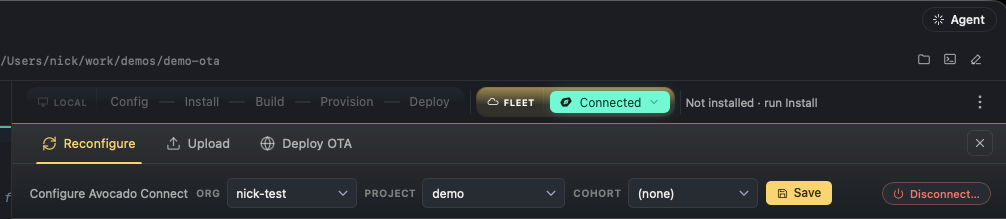
- In Avocado Desktop, the same Connect configuration lives in the Fleet bar — pick the org, project, and cohort, then Save. The Upload and Deploy OTA actions used later in this guide live in the same place.
If your device was provisioned before Connect was initialized in the project, its image contains no Connect configuration, so it cannot enroll. After running avocado connect init, rebuild the image so it picks up the Connect extensions and device config (avocado install && avocado build), then re-provision the device. It enrolls and auto-claims into your project on first boot.
Step 3: Upload your runtime
Before you can upload, you need a built runtime and a running device to update. From the project directory:
- Install dependencies:
avocado install - Build the runtime:
avocado build - Provision a device — either QEMU or supported hardware (
avocado provision). For QEMU, provisioning only creates the disk image — boot the VM afterwards withavocado sdk run -iE vm dev. Since the project was initialized with Connect in Step 2, the device enrolls and auto-claims into your project on first boot. - Confirm the device is online in Connect: open your project's fleet, find the device, and check that its status shows Online.
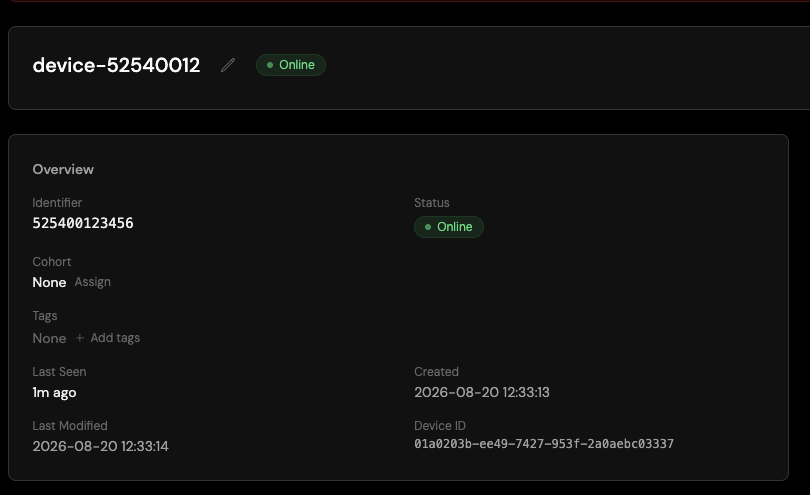
Then make a visible change to deploy (e.g., add a package to avocado.yaml) and rebuild: avocado install && avocado build
Option A: Avocado CLI
avocado connect upload <runtime> --publish --version <version>— uploads the runtime at the given version and publishes it (draft → published) in one step.- Add
--descriptionto annotate the upload. As a fast path, the--deploy-cohortand--deploy-activateflags create and activate a deployment in the same command.
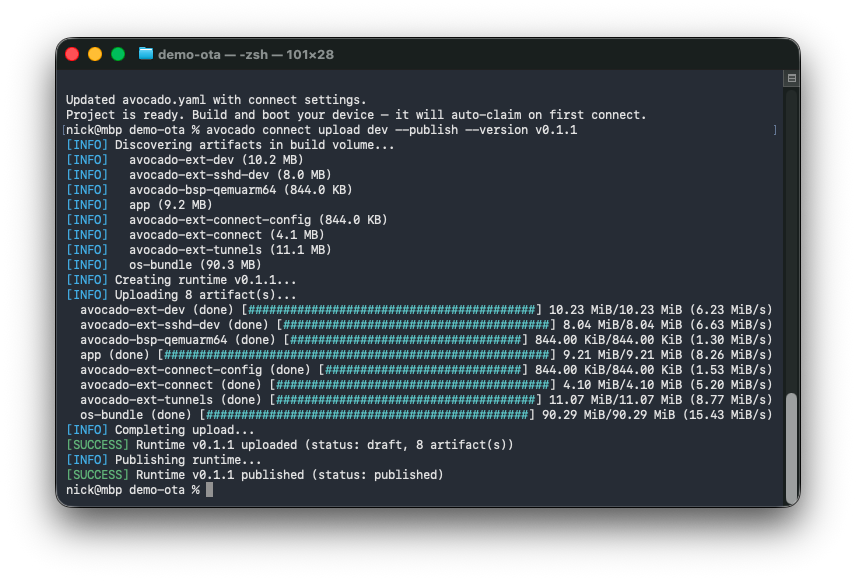
Option B: Avocado Desktop
- In the Fleet bar, open the Upload tab, enter a version for the runtime, and click Upload.

- The output panel tracks each stage of the upload — verifying build prerequisites, discovering artifacts, creating the runtime, uploading artifacts, and finalizing — and reports Ready to OTA fleet when done.
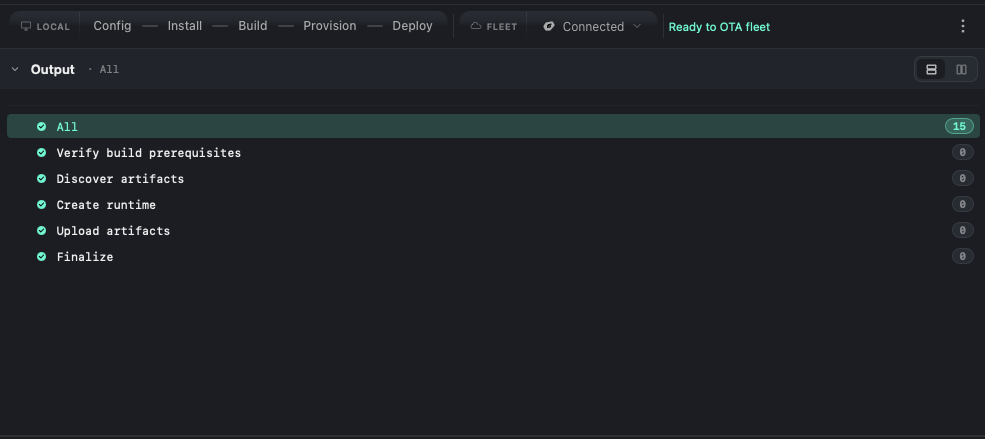
- Whichever option you used, verify the upload: the runtime appears under Runtimes in the Connect console with status Published.
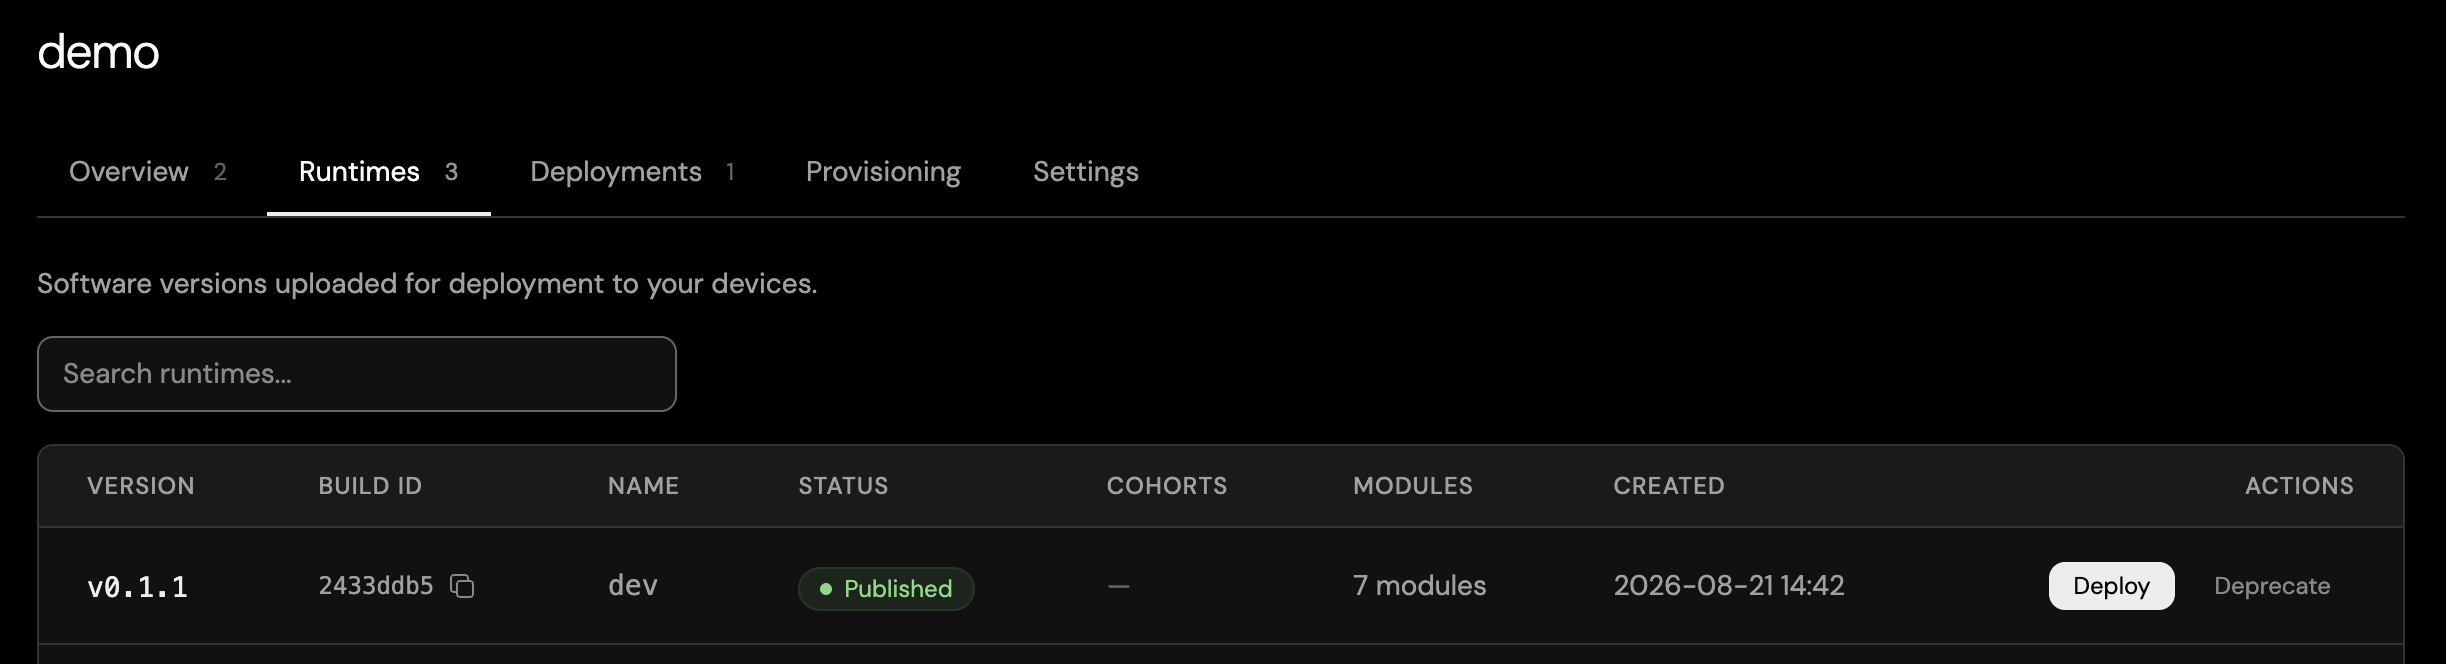
Step 4: Create a deployment
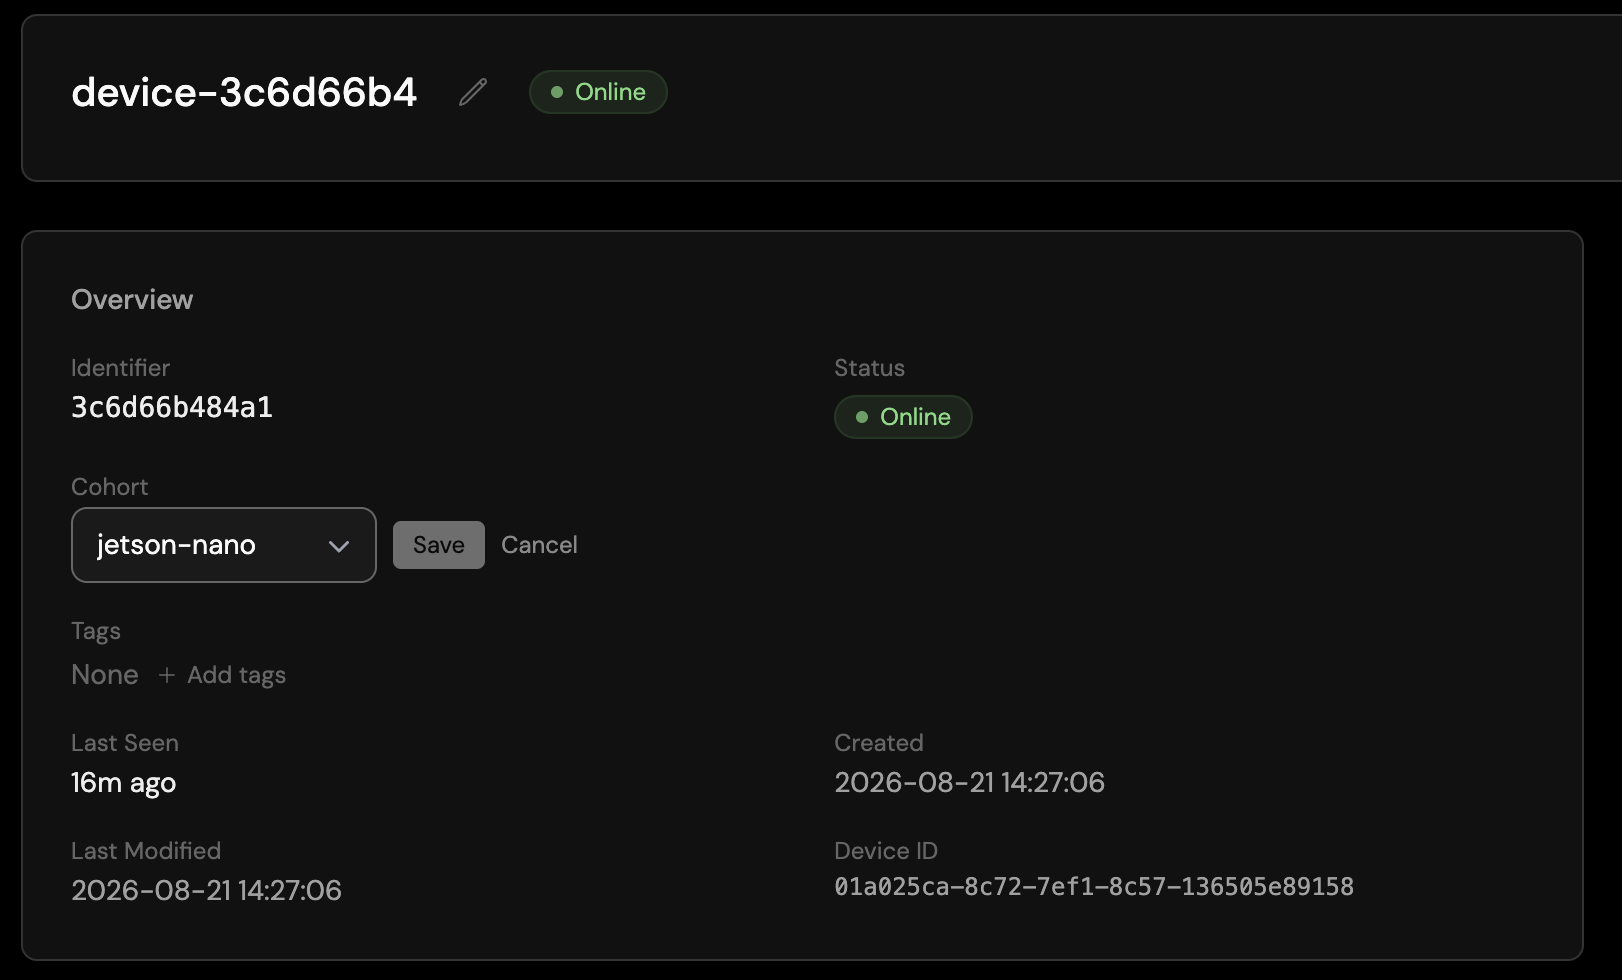
Deployments target a cohort, so before creating one, make sure your device is assigned to a cohort: on the device's Overview in Connect, use Assign next to Cohort, pick the cohort, and Save.
Option A: Avocado CLI
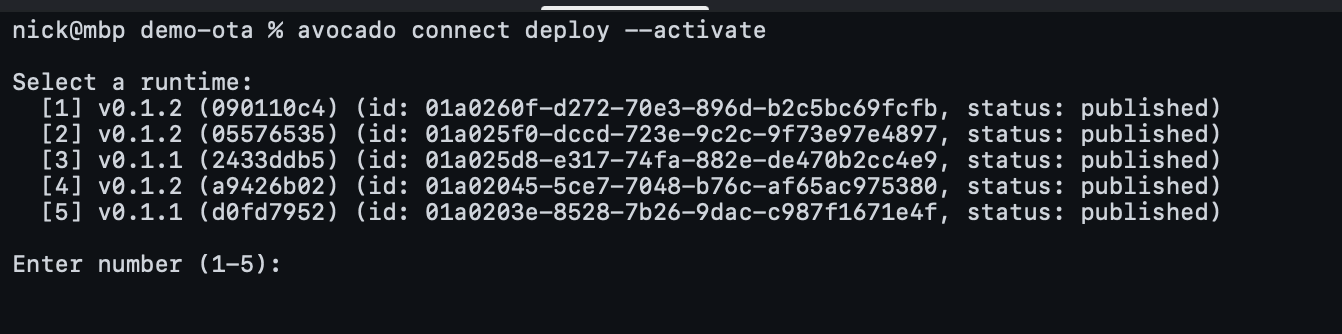
- Run
avocado connect deploy --activate. The command is interactive: first, select the published runtime version to deploy.
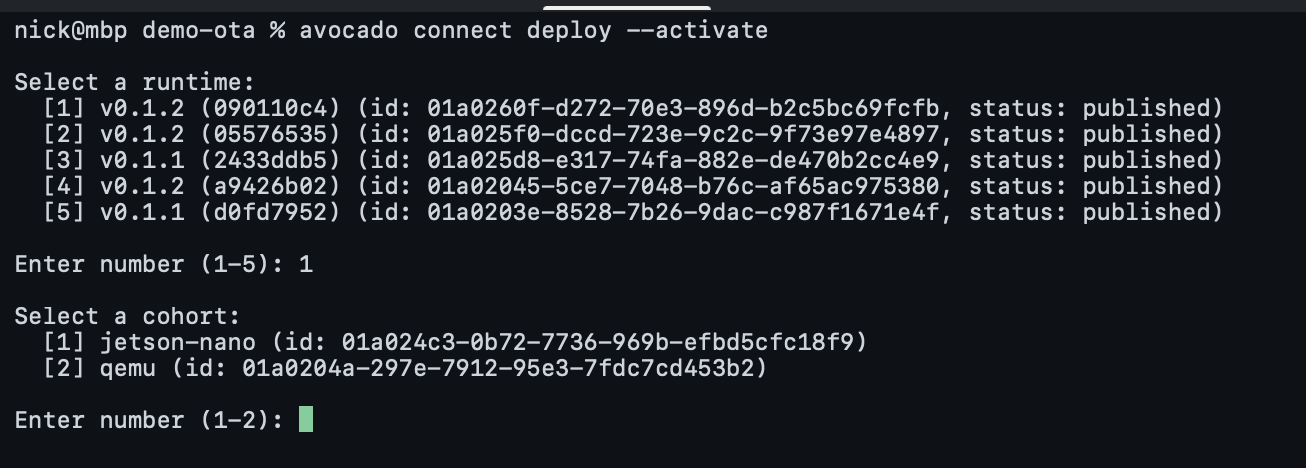
- Next, select the cohort to target.
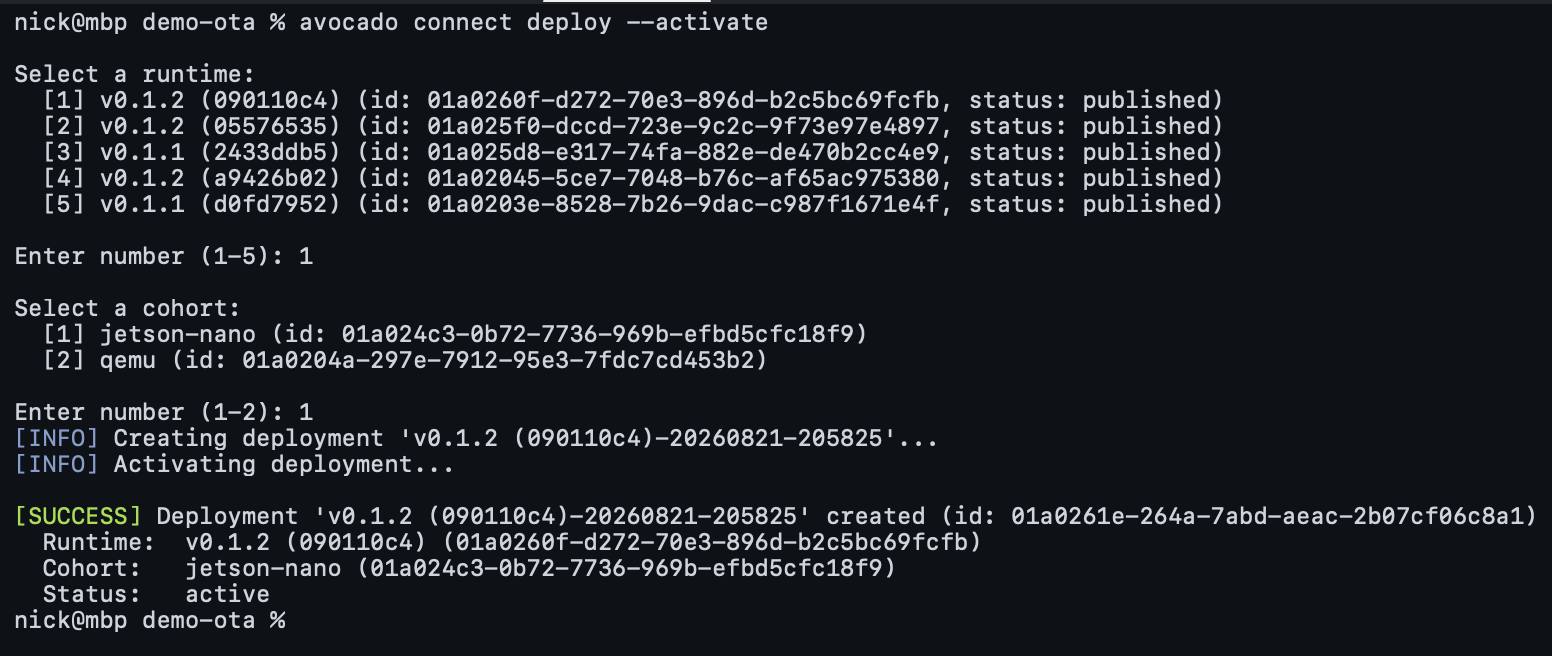
- The CLI creates the deployment and activates it. Omit
--activateto create the deployment without starting the rollout, and activate it later in Connect.
Option B: Avocado Desktop
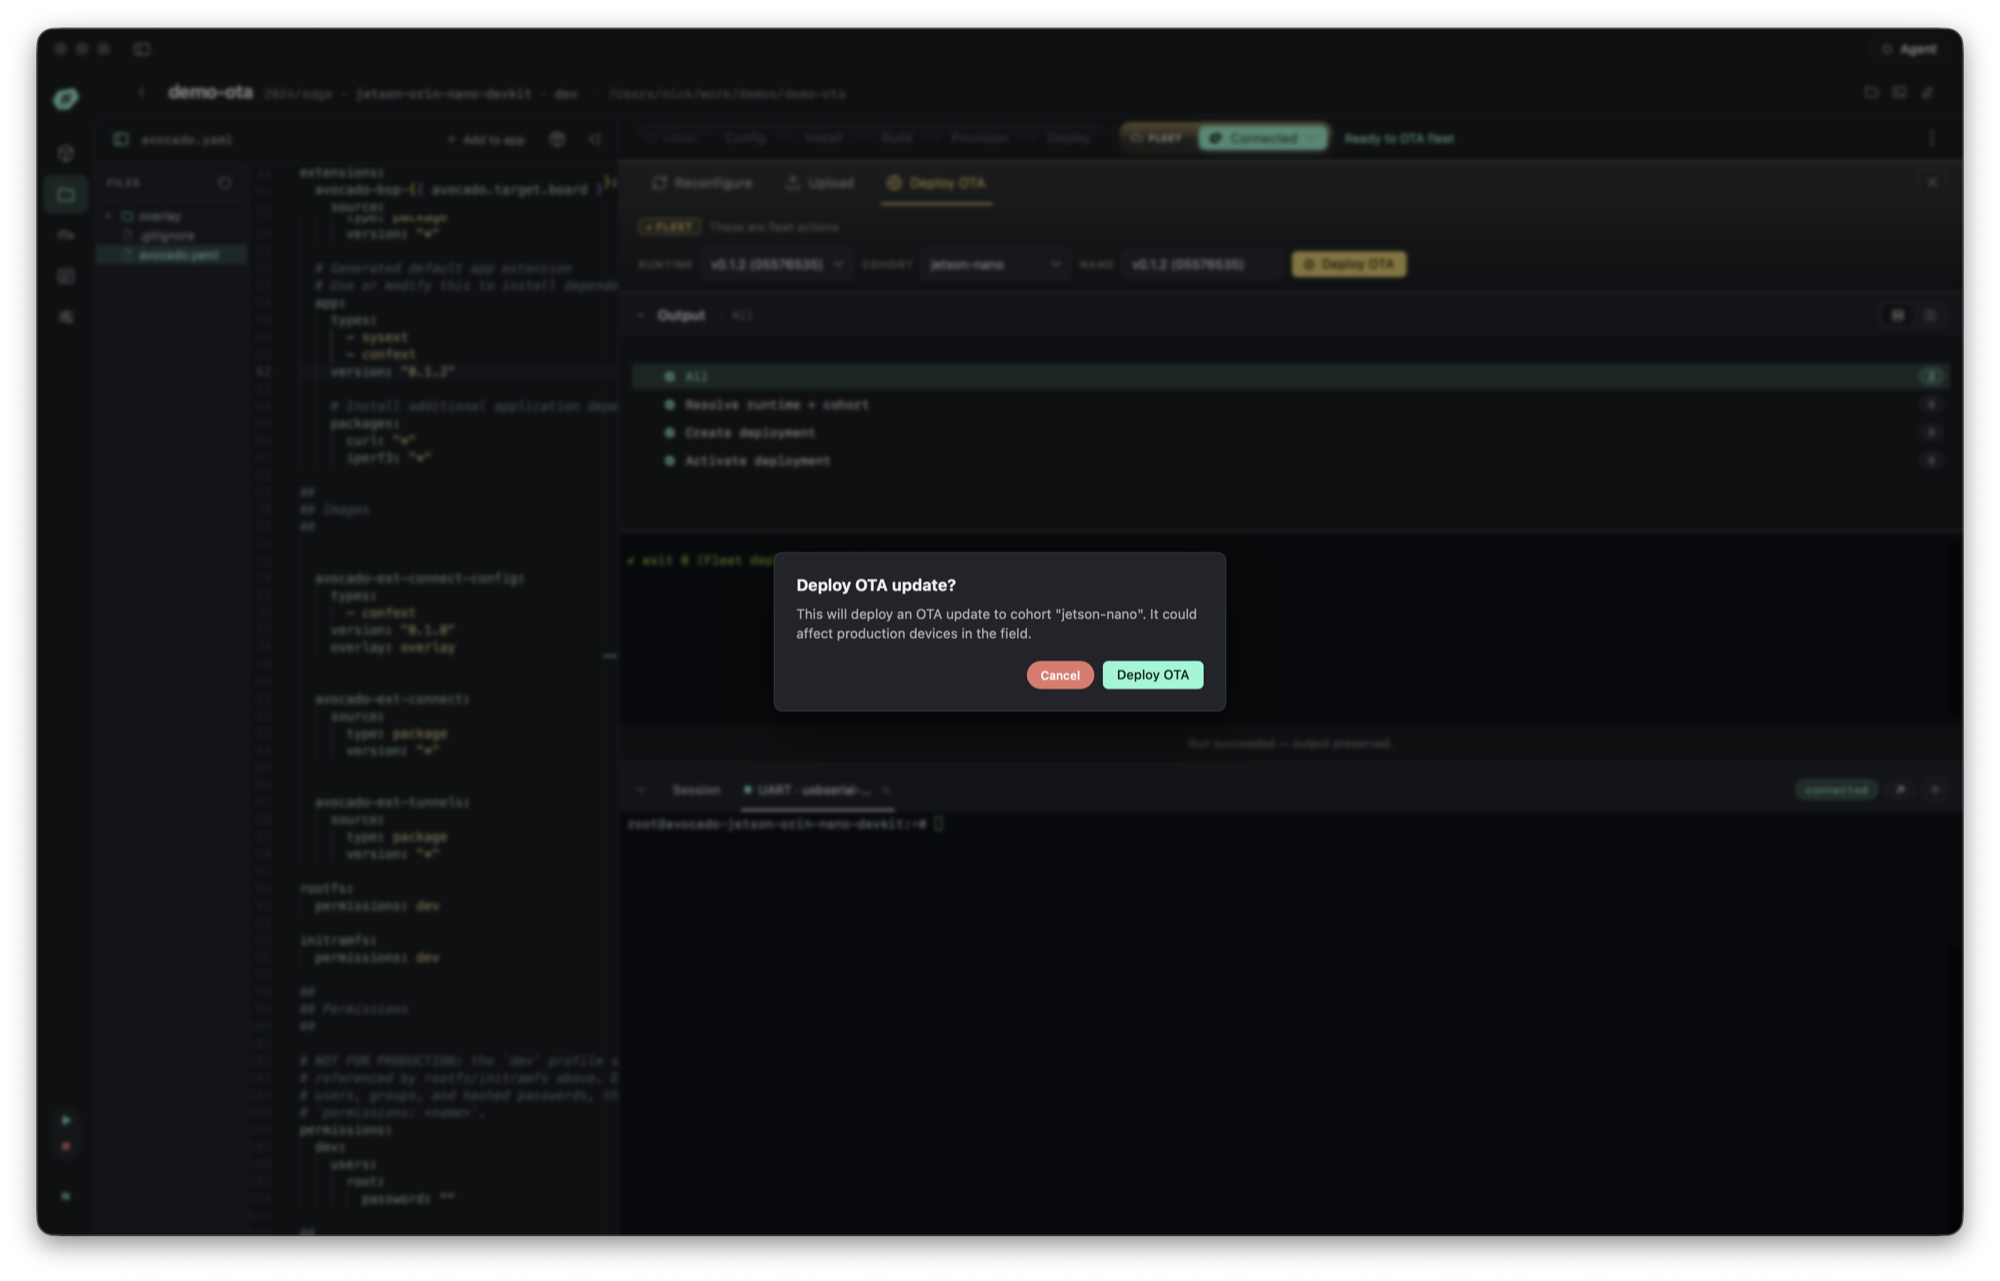
- In the Fleet bar, open the Deploy OTA tab, pick the runtime and cohort, and click Deploy OTA. A confirmation dialog reminds you which cohort you're about to update — it could affect production devices in the field. The output panel then tracks each stage: resolving the runtime and cohort, creating the deployment, and activating it.
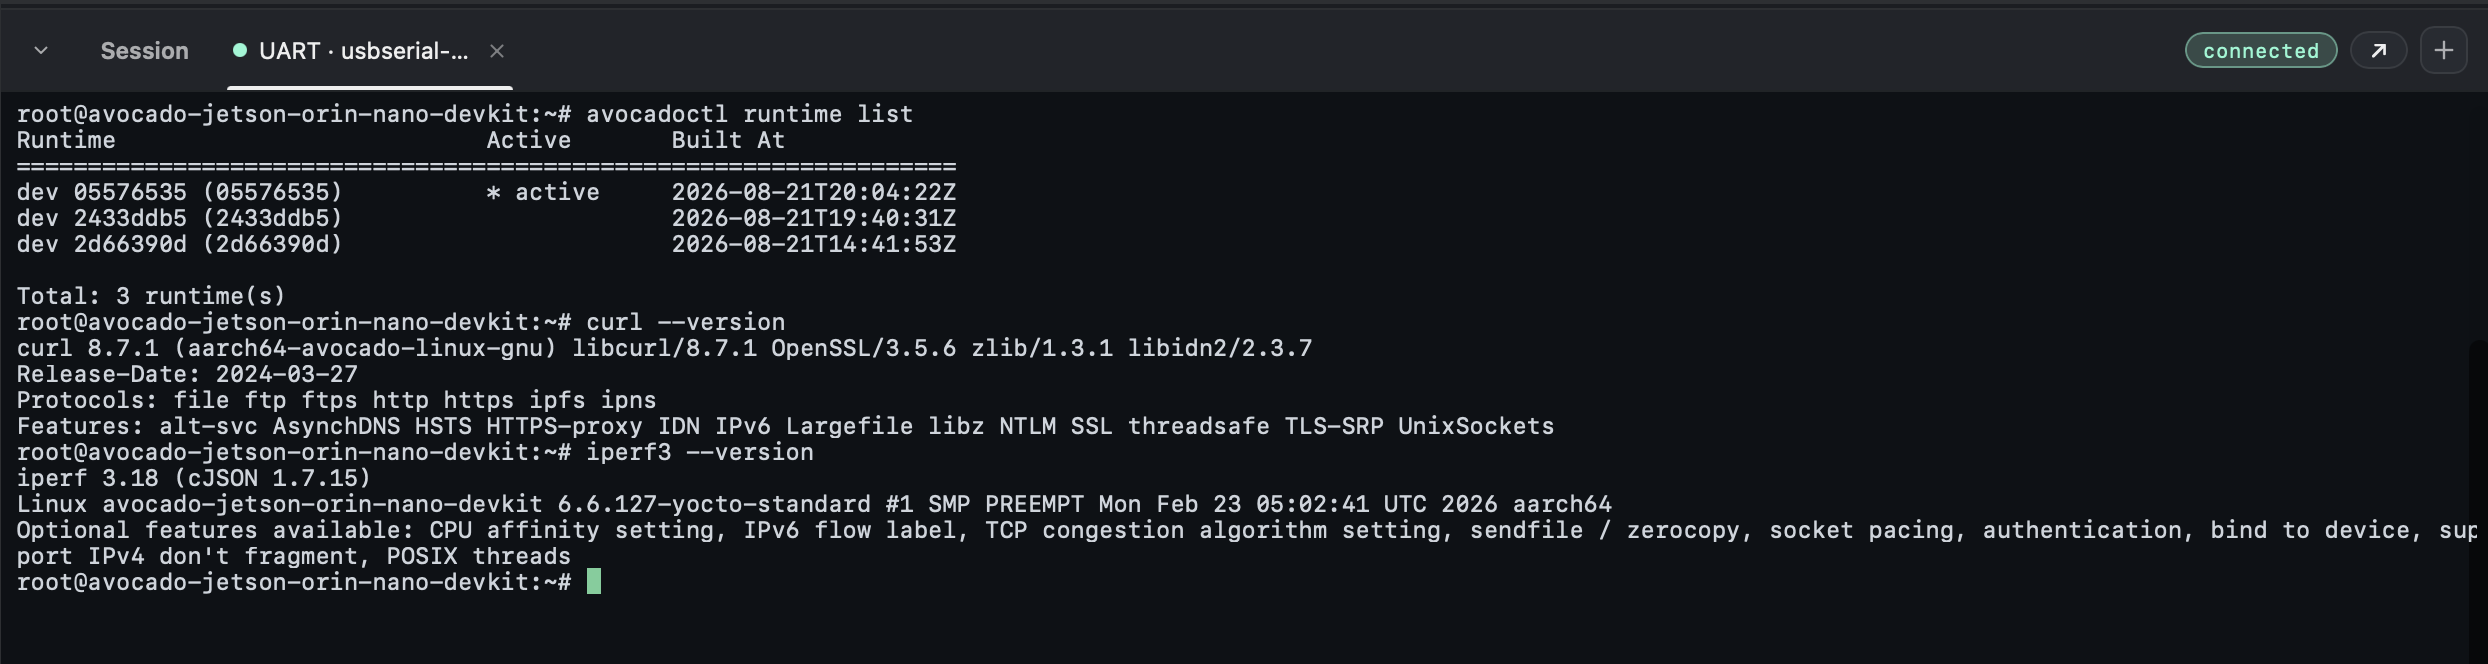
- The rollout is asynchronous — the device applies the update on its own schedule (an extension-only change like this one merges live; a reboot happens only when the update carries a new OS image). Once it shows On target in the deployment's Rollout tab (see Step 5), verify it on the device: connect over UART or SSH, run
avocadoctl runtime listto confirm the new runtime is active, and check that the change shipped (e.g., the new packages are present).
Option C: Avocado Connect
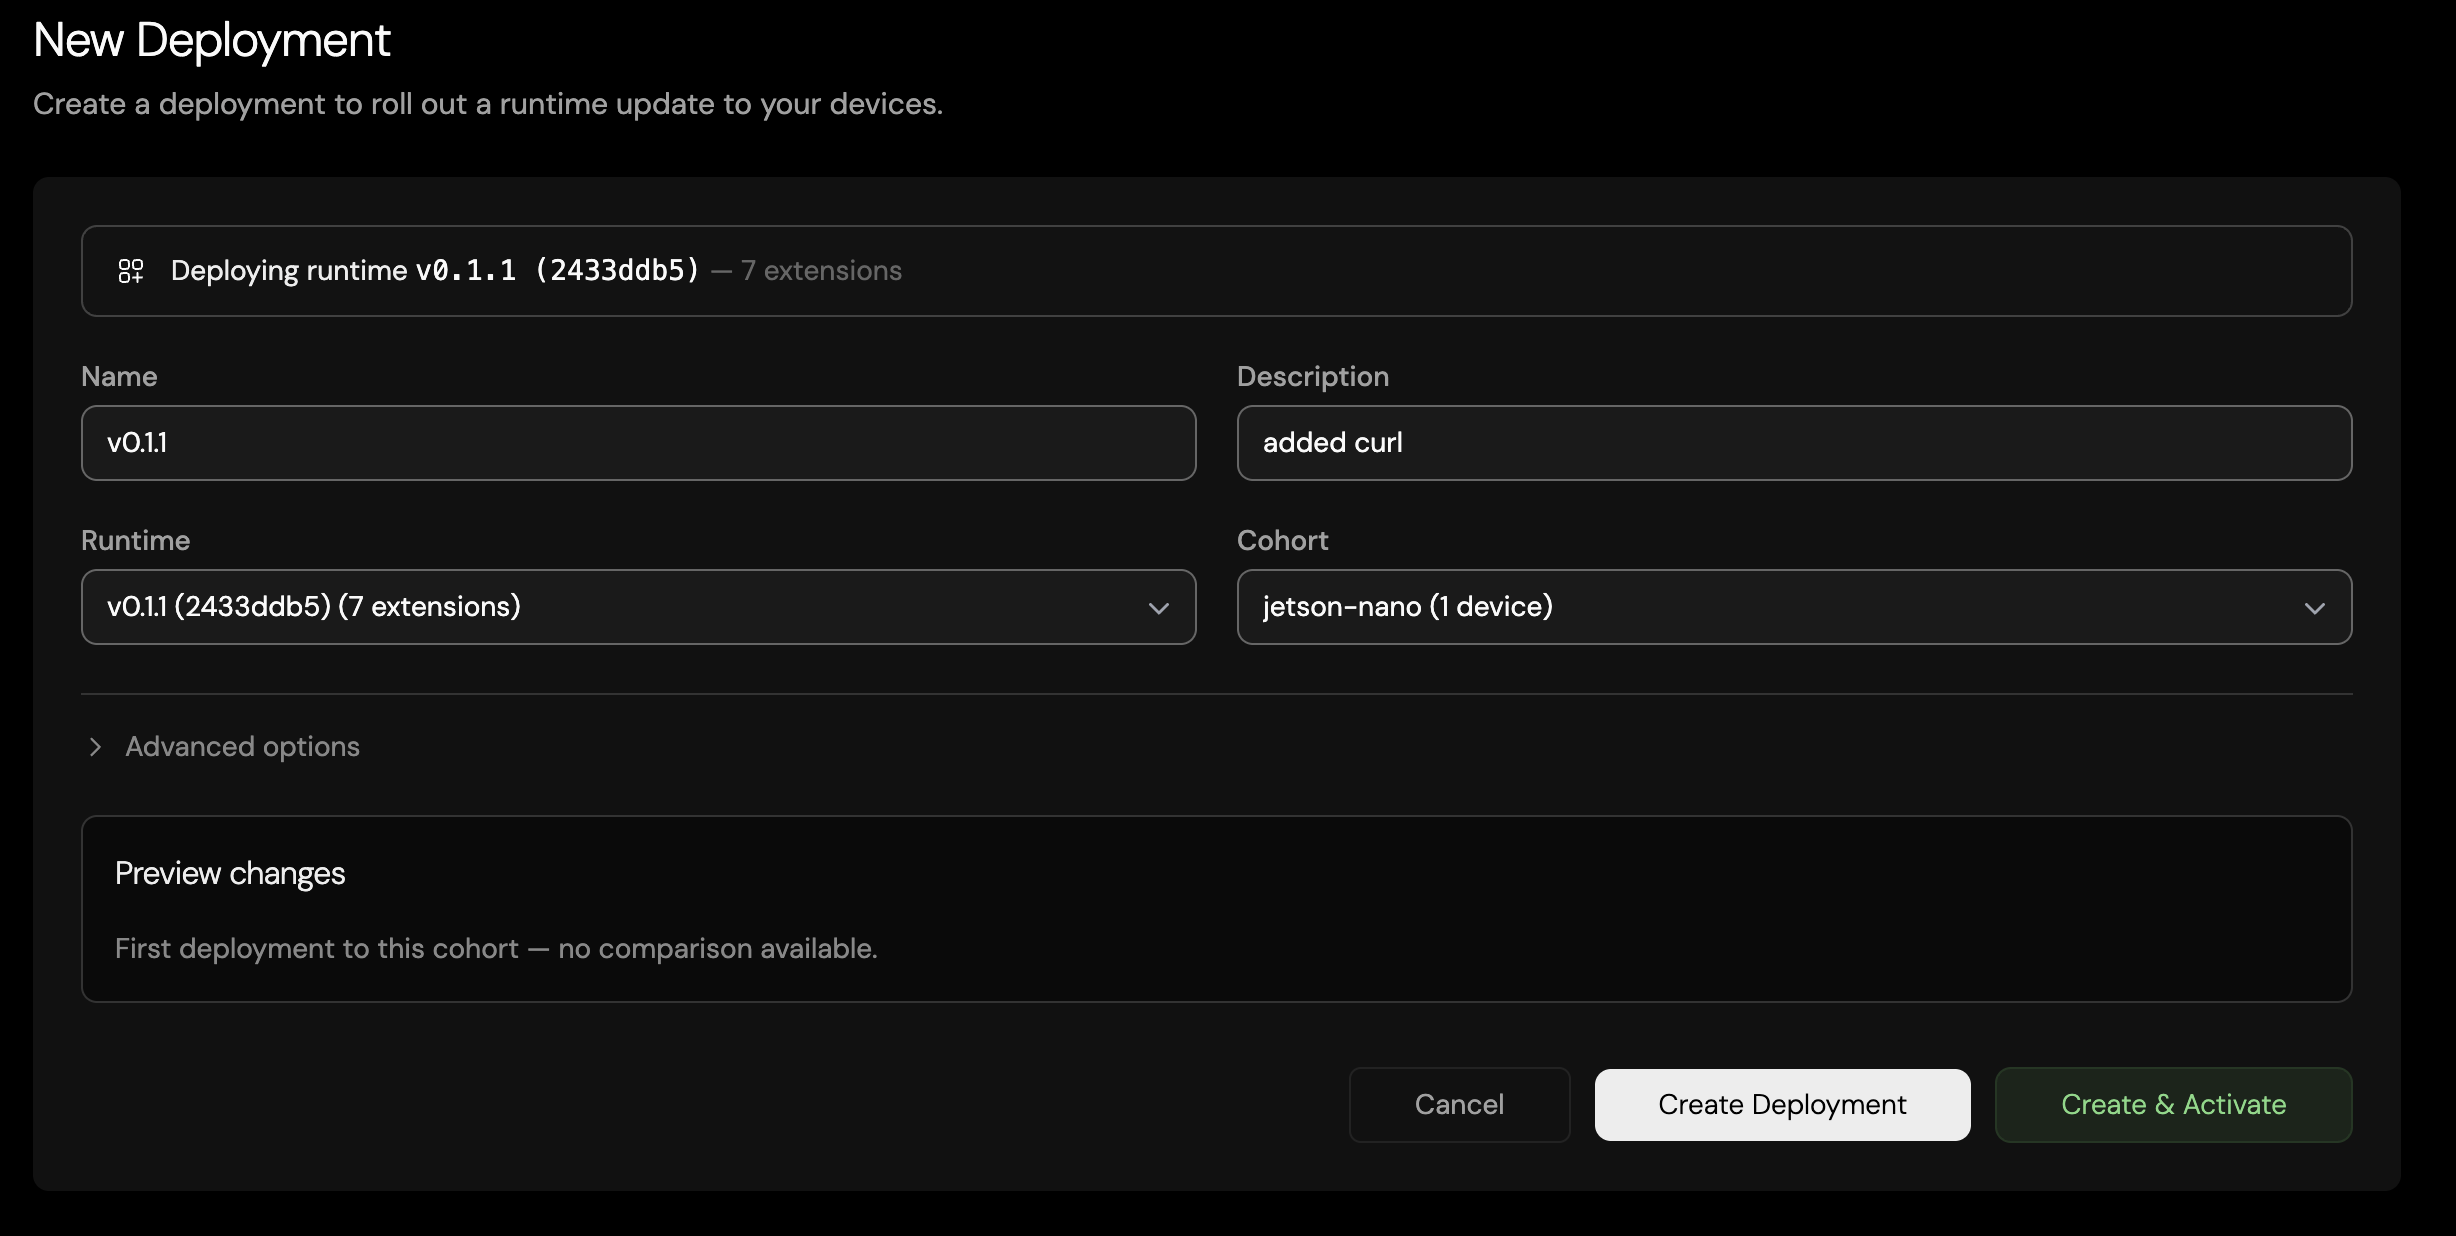
- From the Runtimes tab, click Deploy on the published runtime to open the New Deployment form: name the deployment, pick the runtime and cohort, and optionally add a description.
- Under Advanced options, you can target specific devices or filter devices by tags.
- Choose Create & Activate to start rolling out immediately, or Create Deployment if you wish to activate it at a later time.
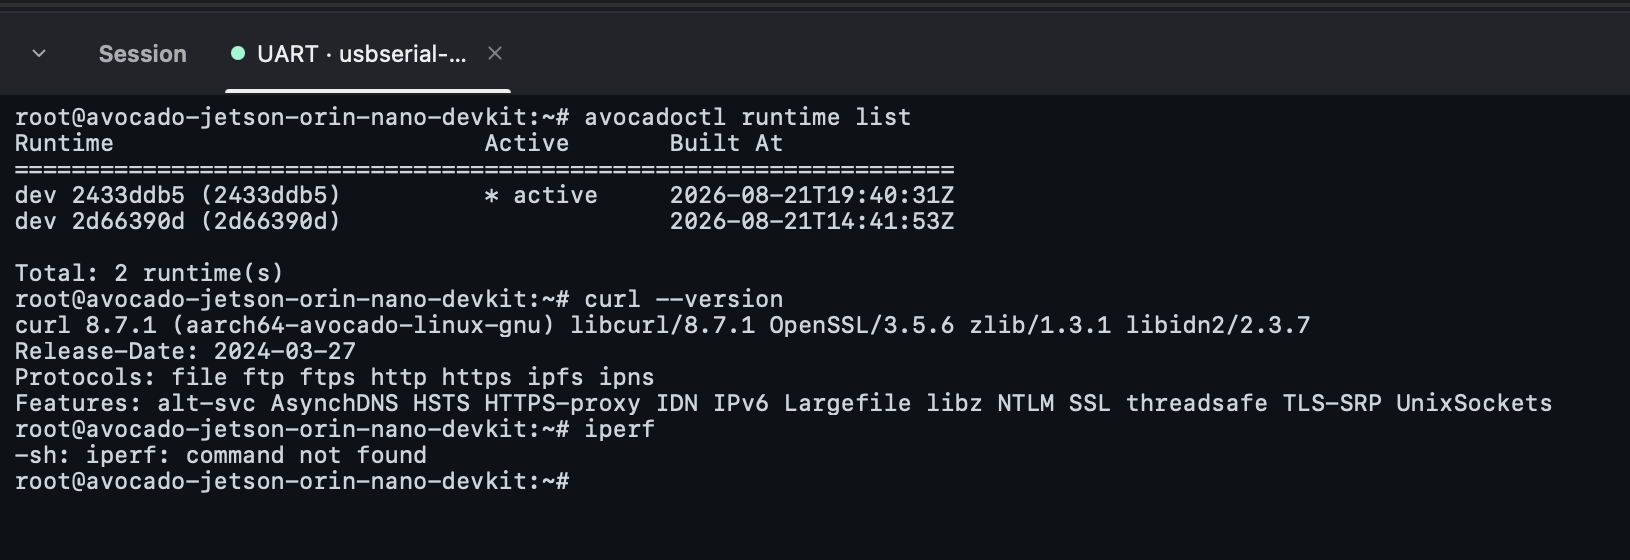
- Verify on the device the same way once it shows On target in the deployment's Rollout tab:
avocadoctl runtime listshows the new runtime active, and the new package is present.
Step 5: Watch the rollout in Connect
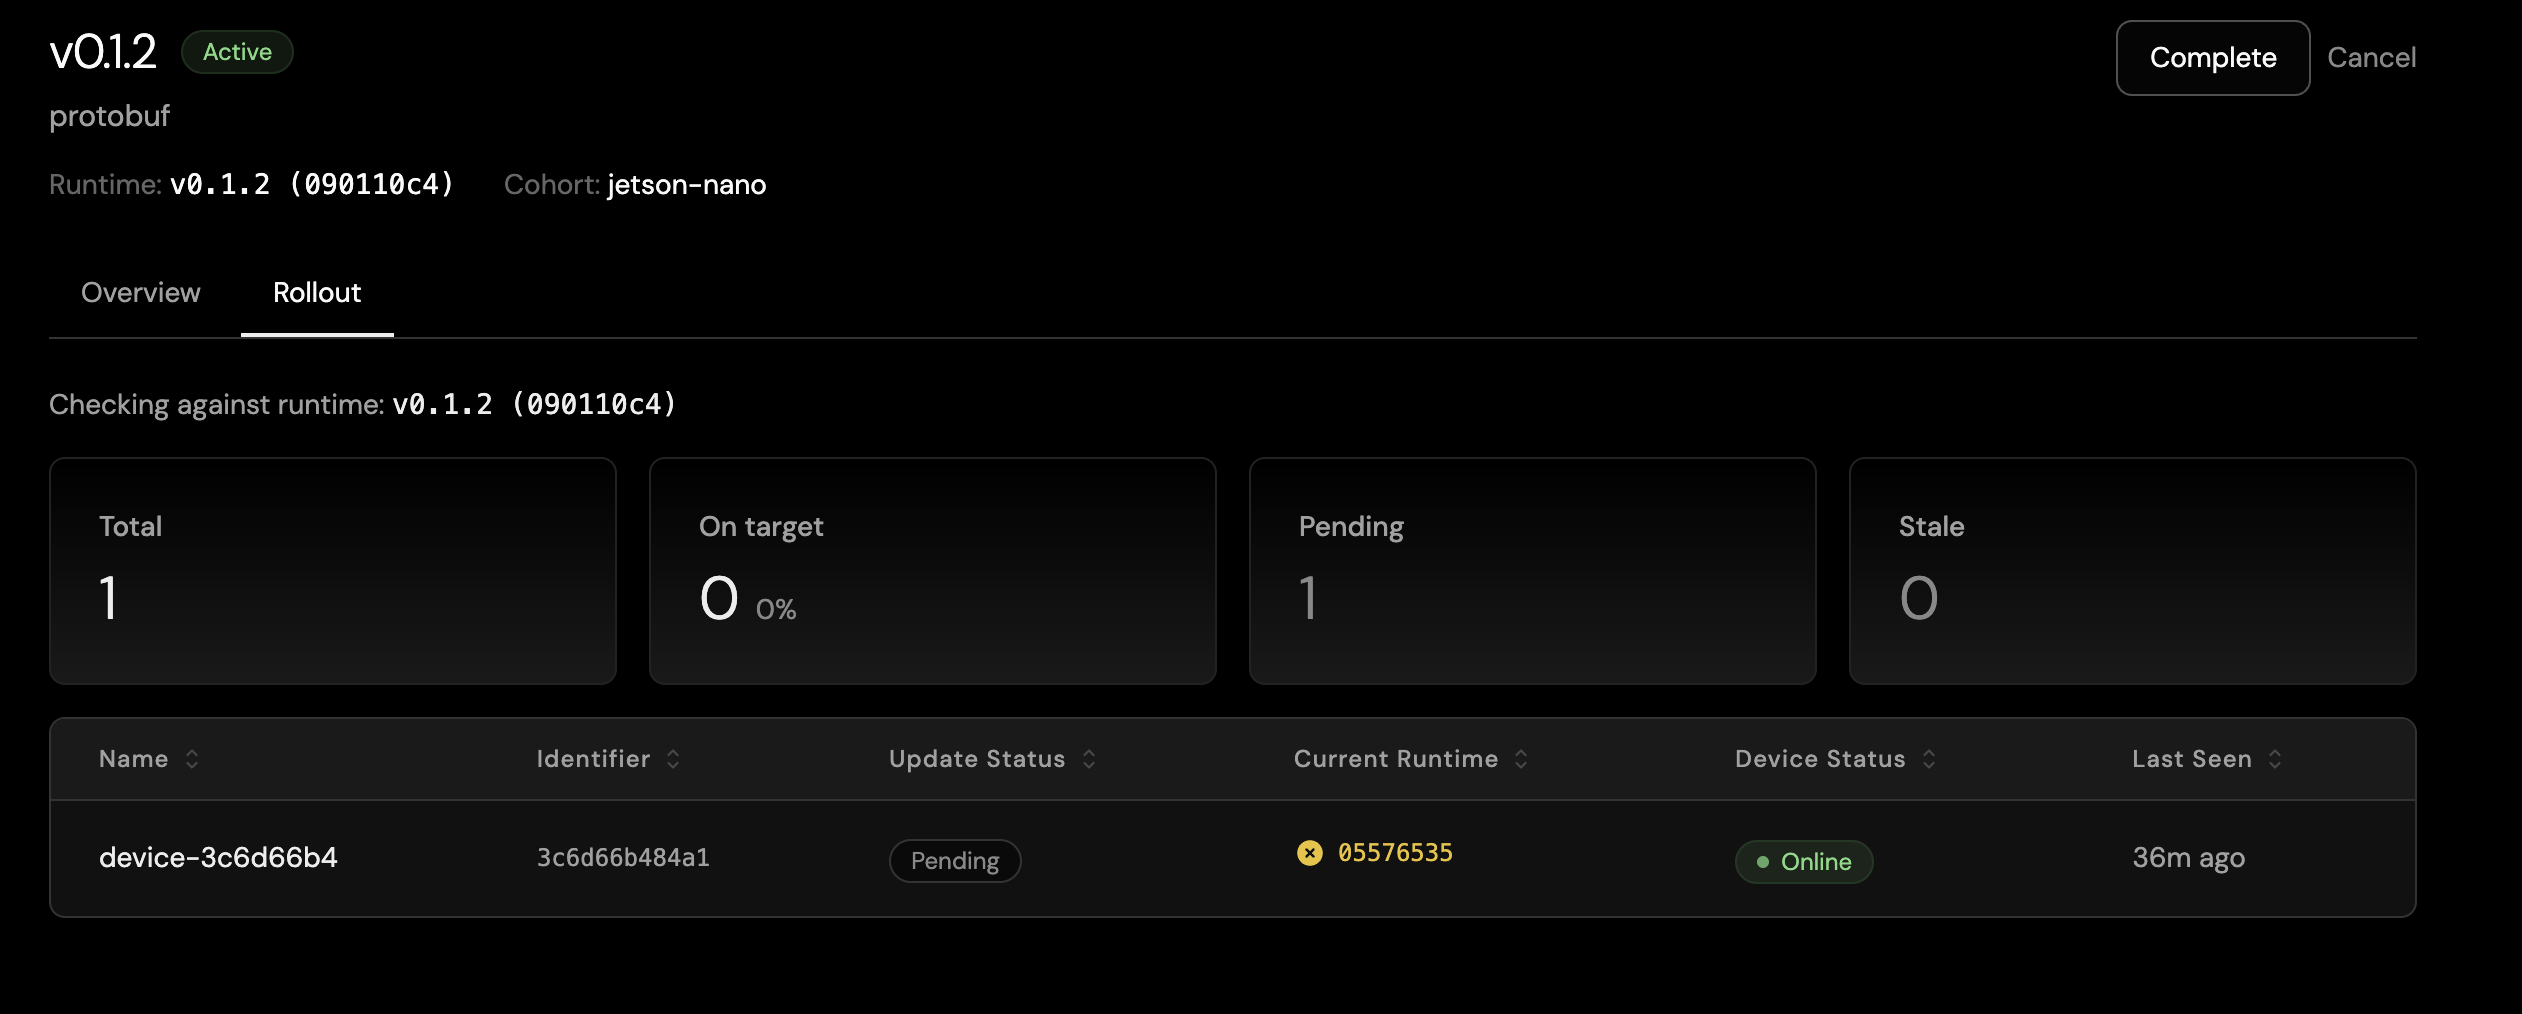
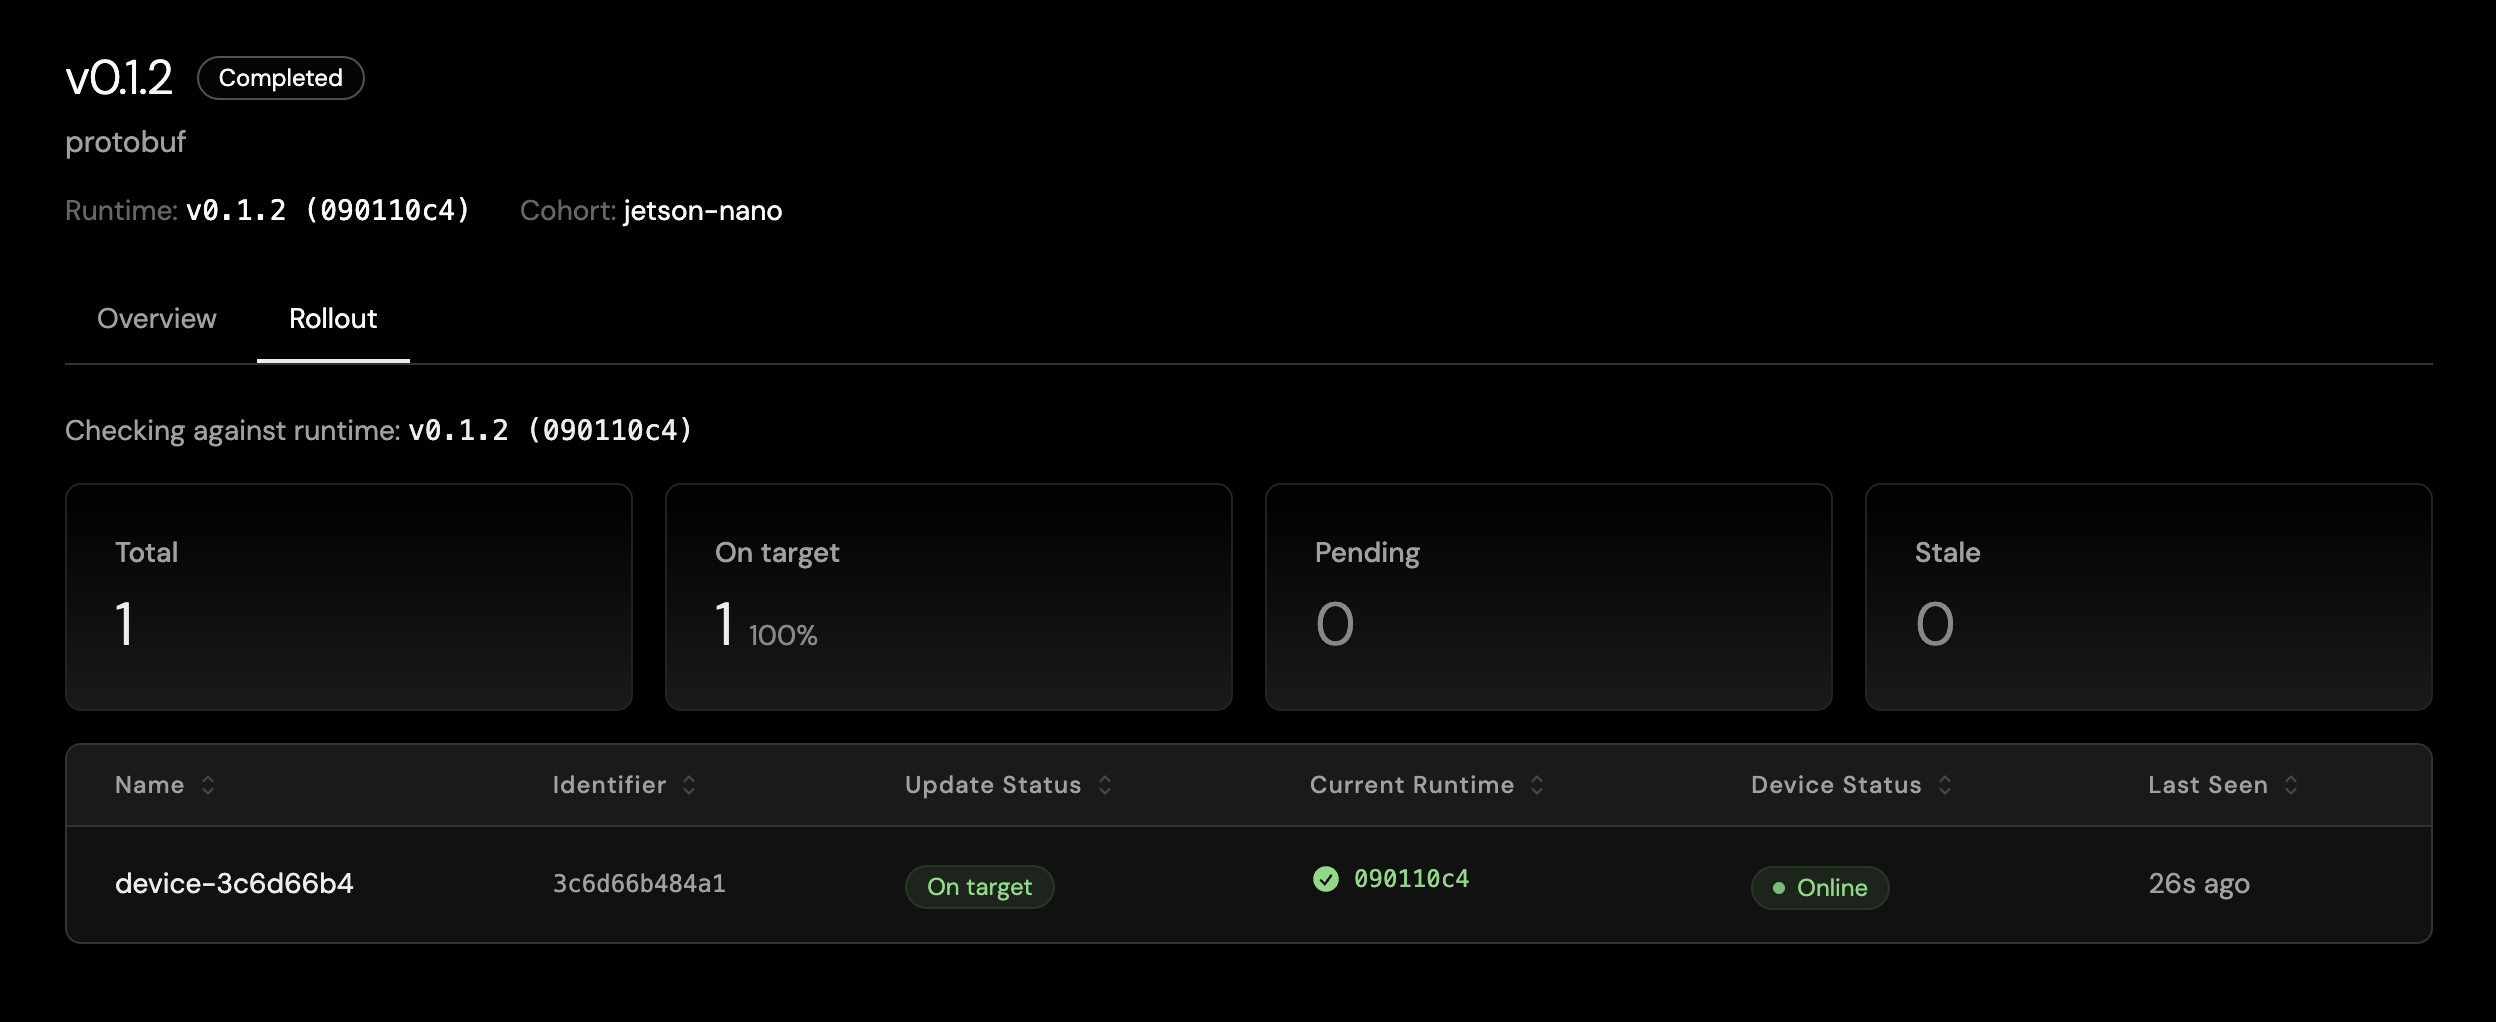
However you created the deployment, its rollout is tracked in Avocado Connect. Open the deployment and switch to the Rollout tab to watch convergence: total devices, on-target percentage, pending and stale counts, and per-device update status.
When the rollout starts, devices in the cohort show as Pending with their current (old) runtime.
As each device applies the update, it moves to On target. When every device converges, the deployment is Completed.
Rollback and safety
- What happens when a bad OS update ships? A/B rollback to the rescue — read our Field Note: Two boots to trust an update.
- For more information, see Deployments and the update architecture.
- Turning on a manifest-level security feature (
image.verity,var.encrypt) over OTA has an ordering rule: an update is applied by the avocadoctl already on the device, so ship the current avocadoctl in a plain OS update first. Security features covers which transitions work over OTA and which need a reprovision.