Raspberry Pi Zero 2 W
Ultra-compact quad-core ARM platform with wireless connectivity for space-constrained IoT and embedded deployments.
raspberrypi0-2w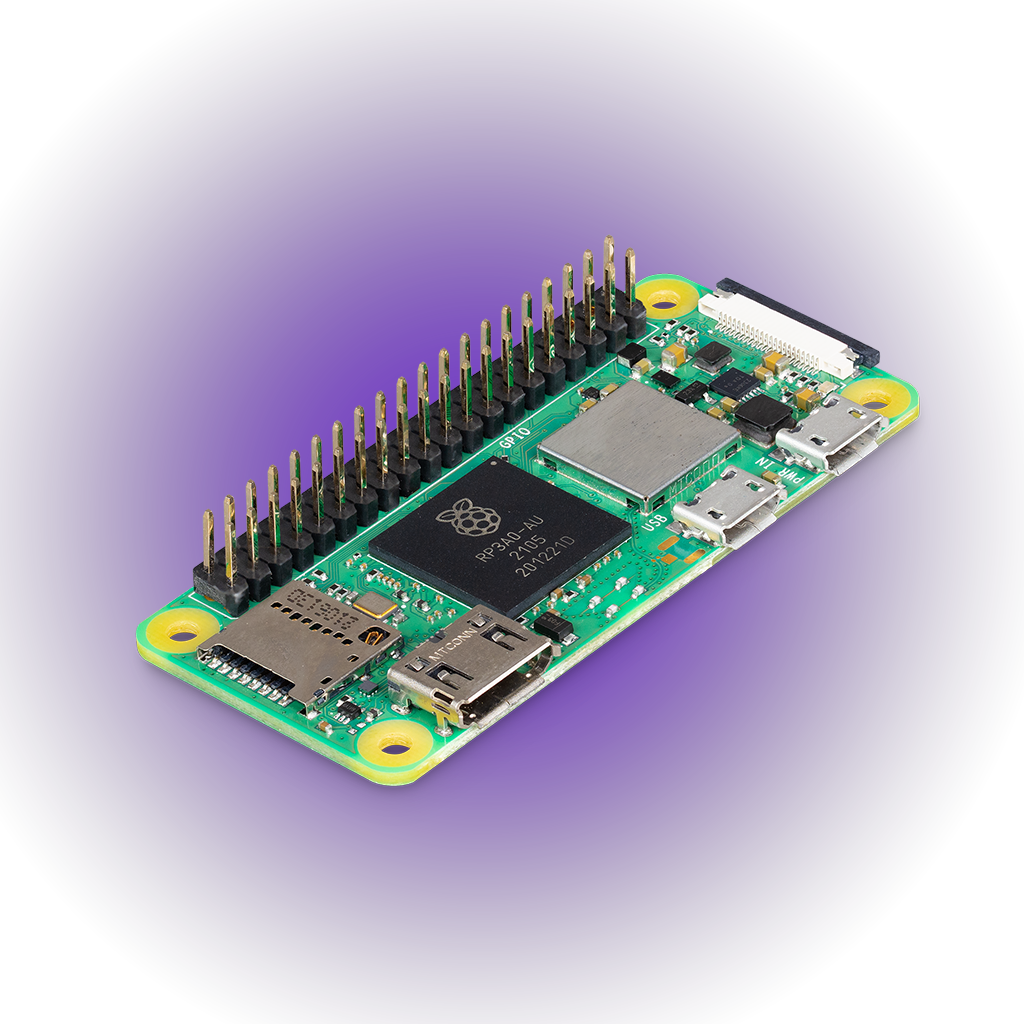
- 1 GHzQuad-Core Cortex-A53
- 512MBLPDDR2 SDRAM
- 65 x 30mmCompact Form Factor
- $15Starting Cost
- Wi-Fi + BLE 4.2Onboard Wireless
- CSI-2 + GPIOCamera & HAT Expansion
Overview
The Raspberry Pi Zero 2 W, paired with Avocado OS, delivers a production-ready Linux platform in the smallest Raspberry Pi form factor. The quad-core Cortex-A53 at 1GHz provides 5x the performance of the original Zero, while maintaining the same 65x30mm footprint that fits into the tightest enclosures. With onboard Wi-Fi and Bluetooth, a HAT-compatible 40-pin GPIO header, and CSI camera connector, the Zero 2 W packs meaningful compute and connectivity into a board that weighs just 10 grams. Avocado OS transforms this low-cost board into a secure, OTA-updatable production device — immutable root filesystem, atomic updates, and long-term support at a $15 price point.
Specifications
| Specification | Value | Notes |
|---|---|---|
| Processor | 1GHz Quad-core Cortex-A53 | 64-bit ARMv8 (BCM2710A1) |
| Memory | 512MB LPDDR2 SDRAM | Shared with GPU |
| Wireless | 802.11 b/g/n Wi-Fi | 2.4GHz, onboard antenna |
| Bluetooth | Bluetooth 4.2, BLE | Onboard |
| Video | Mini HDMI | H.264 encode/decode 1080p30 |
| Camera | CSI-2 connector | Compatible with Pi camera modules |
| GPIO | 40-pin HAT-compatible header | Unpopulated (solder required) |
| Storage | MicroSD | Boot and root filesystem |
| Power | Micro USB | 5V supply |
| Dimensions | 65mm x 30mm | Same footprint as Pi Zero |
Use Cases
Compact IoT Sensors
Deploy environmental sensors, asset trackers, and monitoring nodes in space-constrained enclosures. Wi-Fi connectivity with minimal power draw.
Camera-Based Monitoring
CSI camera interface for time-lapse, security, and inspection applications. Process images locally or stream to a central system.
Embedded Controllers
40-pin GPIO for relay control, LED signage, and simple automation. Small enough to embed directly into products and enclosures.
Challenges and Solutions
| Challenge | Solution |
|---|---|
| Consumer OS unsuitable for 24/7 operation | Immutable Avocado OS with read-only root |
| SD card corruption in deployed devices | Atomic A/B updates eliminate corruption risk |
| No OTA mechanism for remote devices | Over-the-air updates with automatic rollback |
| Scaling deployments beyond prototype | Fleet management and zero-touch provisioning |
| Long-term OS maintenance for low-cost devices | Avocado OS LTS with CVE patching |
Key Features
Ultra-Compact Form Factor
At 65x30mm, the Zero 2 W fits where other SBCs cannot. Embed production Linux into products, enclosures, and retrofits.
Production Hardening
Read-only root filesystem with atomic OTA updates. The same security and reliability guarantees as larger Avocado OS targets.
Wireless Connectivity
Onboard Wi-Fi and Bluetooth for cable-free deployments. Connect sensors, report telemetry, and receive updates over the air.
Cost-Effective Fleets
At $15 per board, deploy large sensor networks and monitoring fleets without the hardware cost becoming prohibitive.
Cross-Platform Software
Write your application once, run it on Zero 2 W for compact deployments and on Pi 4/5 for higher-performance nodes. Same Avocado OS, same tooling.
Rapid Development
Hardware-in-the-loop development with Avocado OS. Iterate on your application without reflashing the SD card.
Getting Started
Init, Install, & Build
Follow the Any Supported Target instructions under Getting Started to begin. This target is raspberrypi0-2w. The provisioning specifics are below.
Provision
Build the project and execute the provisioning procedure. This will build the system image and flash it to your target hardware.
Some Linux operating systems, like Ubuntu, will attempt to auto-mount mass storage devices. This can interfere with Avocado's ability to finalize provisioning a device.
Before provisioning, disable auto-mounting. The following example is for Ubuntu (GNOME desktop); the same commands apply to other GNOME-based distributions such as Fedora Workstation.
gsettings set org.gnome.desktop.media-handling automount false
gsettings set org.gnome.desktop.media-handling automount-open false
avocado build
avocado provision -r dev --profile sd
Run
After provisioning completes, insert the SD card into your target device and power it on.
The device will boot from the SD card with the provisioned system. The root user is passwordless in the dev runtime used by this guide.