STM32MP257F Discovery Kit
Production-ready STMicroelectronics STM32MP257F-DK deployment in 4 months with Avocado Connect + Avocado OS.
stm32mp257f-dk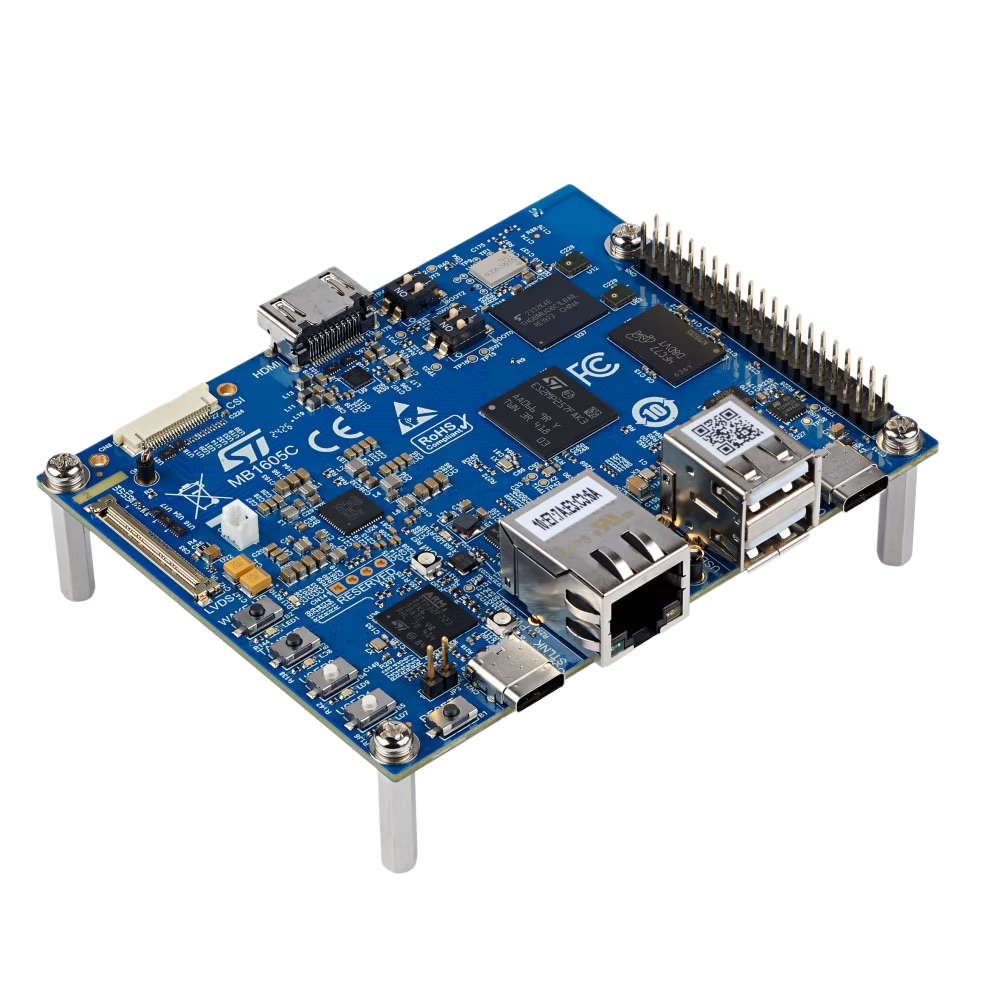
- 10x FasterDevelopment Cycle
- 3xFewer Engineers
- 1.35 TOPSNPU AI Performance
- 1.5 GHzDual Cortex-A35
- Cortex-M33400 MHz Real-Time Core
- -40 to 85°CIndustrial Temperature
Overview
The STMicroelectronics STM32MP257F-DK, powered by Avocado Linux and Avocado Connect, transforms industrial embedded development from an 18-month journey into a 4-month production deployment. This heterogeneous platform combines dual Cortex-A35 cores, a Cortex-M33 real-time processor, and a 1.35 TOPS NPU to deliver sophisticated edge AI capabilities with deterministic real-time control. The pre-integrated Yocto-based Linux distribution eliminates months of complex dual-core system integration, while enterprise OTA updates and fleet management ensure secure, scalable deployment across industrial environments. Perfect for smart manufacturing, IoT gateways, and HMI controllers, the solution enables teams to leverage STM32's industrial heritage and -40°C to +85°C operation while reducing development teams by 3x and accelerating time to market by 10x.
Specifications
| Specification | Value | Notes |
|---|---|---|
| AI Performance | 1.35 TOPS NPU | Dedicated 3D NPU for AI acceleration |
| Applications CPU | Dual-core Arm Cortex-A35 @ 1.5 GHz | 64-bit ARMv8-A architecture |
| Real-time CPU | Arm Cortex-M33 @ 400 MHz | Real-time processing with TrustZone |
| Memory | 2GB DDR4 | High-bandwidth memory for demanding applications |
| Storage | 128GB eUFS + microSD | Fast storage with expansion capability |
| Operating Temperature | -40°C to +85°C | Extended industrial temperature range |
Use Cases
Smart Manufacturing
Real-time quality control with AI-powered visual inspection. OTA updates enable continuous model improvement in production.
Industrial IoT Gateways
Edge processing for sensor fusion and local decision making. Secure connectivity with cellular and ethernet interfaces.
HMI Controllers
Advanced human-machine interfaces with touchscreen support. Real-time responsiveness with dual-core architecture.
Challenges and Solutions
| Challenge | Solution |
|---|---|
| Complex dual-core system integration | Pre-configured dual-core system |
| Custom Linux distribution takes months | Production-ready Yocto distribution |
| OTA infrastructure requires dedicated teams | Enterprise OTA orchestration |
| Security compliance adds complexity | Built-in security compliance |
| Industrial certification challenges | Industrial-grade fleet management |
Key Features
Rapid Deployment
Boot production-ready Linux on STM32MP in minutes. Pre-configured dual-core communication and AI acceleration.
Production Security
Secure boot with TrustZone, dm-verity, and LUKS encryption. Industrial-grade security from day one.
Fleet Management
Register and manage devices in Avocado Connect. Phased releases, cohort targeting, and real-time monitoring.
Hybrid Architecture
Seamless integration of Cortex-A35 and Cortex-M33 cores. Optimized for real-time and AI workloads.
Cross-Platform
Reuse Avocado OS layers across ARM SoCs (NVIDIA Jetson, Qualcomm, NXP i.MX8). Consistent toolchain.
Long-term Support
10+ years of kernel/security maintenance. STM32MP longevity program ensures extended product lifecycle.
Getting Started
Init, Install, & Build
Follow the Any Supported Target instructions under Getting Started to begin. This target is stm32mp257f-dk. The provisioning specifics are below.
Provision
Build the project and execute the provisioning procedure. This will build the system image and flash it to your target hardware.
Some Linux operating systems, like Ubuntu, will attempt to auto-mount mass storage devices. This can interfere with Avocado's ability to finalize provisioning a device.
Before provisioning, disable auto-mounting. The following example is for Ubuntu (GNOME desktop); the same commands apply to other GNOME-based distributions such as Fedora Workstation.
gsettings set org.gnome.desktop.media-handling automount false
gsettings set org.gnome.desktop.media-handling automount-open false
avocado build
avocado provision -r dev --profile sd
Run
After provisioning completes, insert the SD card into your target device and power it on.
The device will boot from the SD card with the provisioned system. The root user is passwordless in the dev runtime used by this guide.